How to connect AlRouter in your CLI
You can set environment variables directly, or register everything at once with CC Switch.
Watch the video, or follow the step-by-step guide below.
Step-by-step
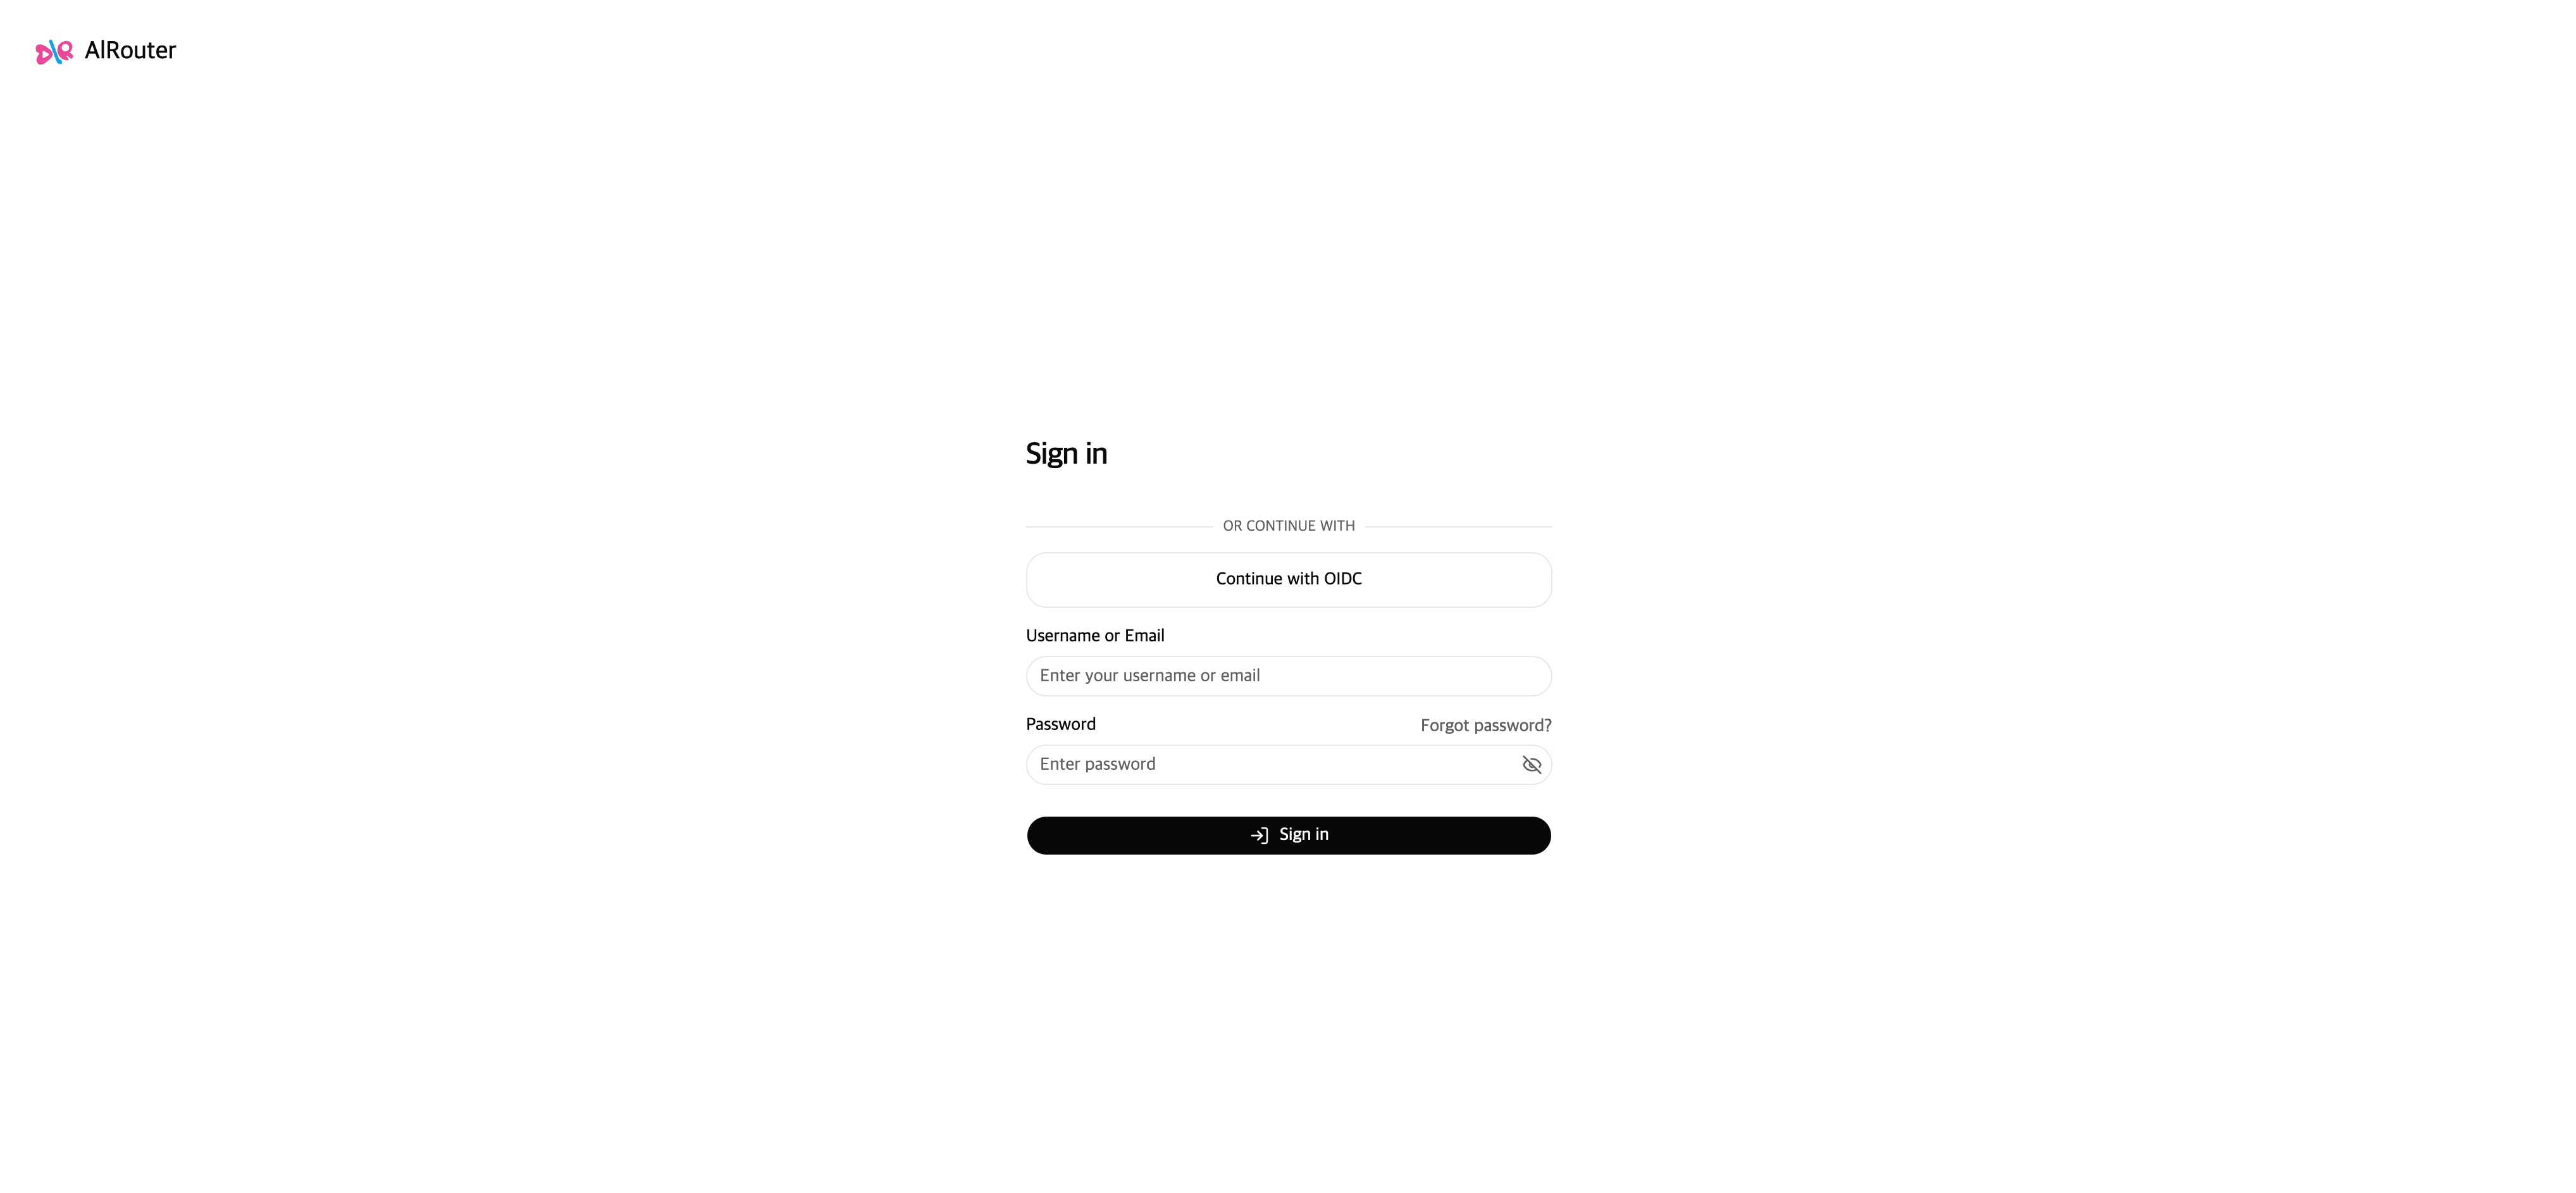
Sign in to AlRouter
Sign in to your AlRouter account before creating an API key.
Create an API key
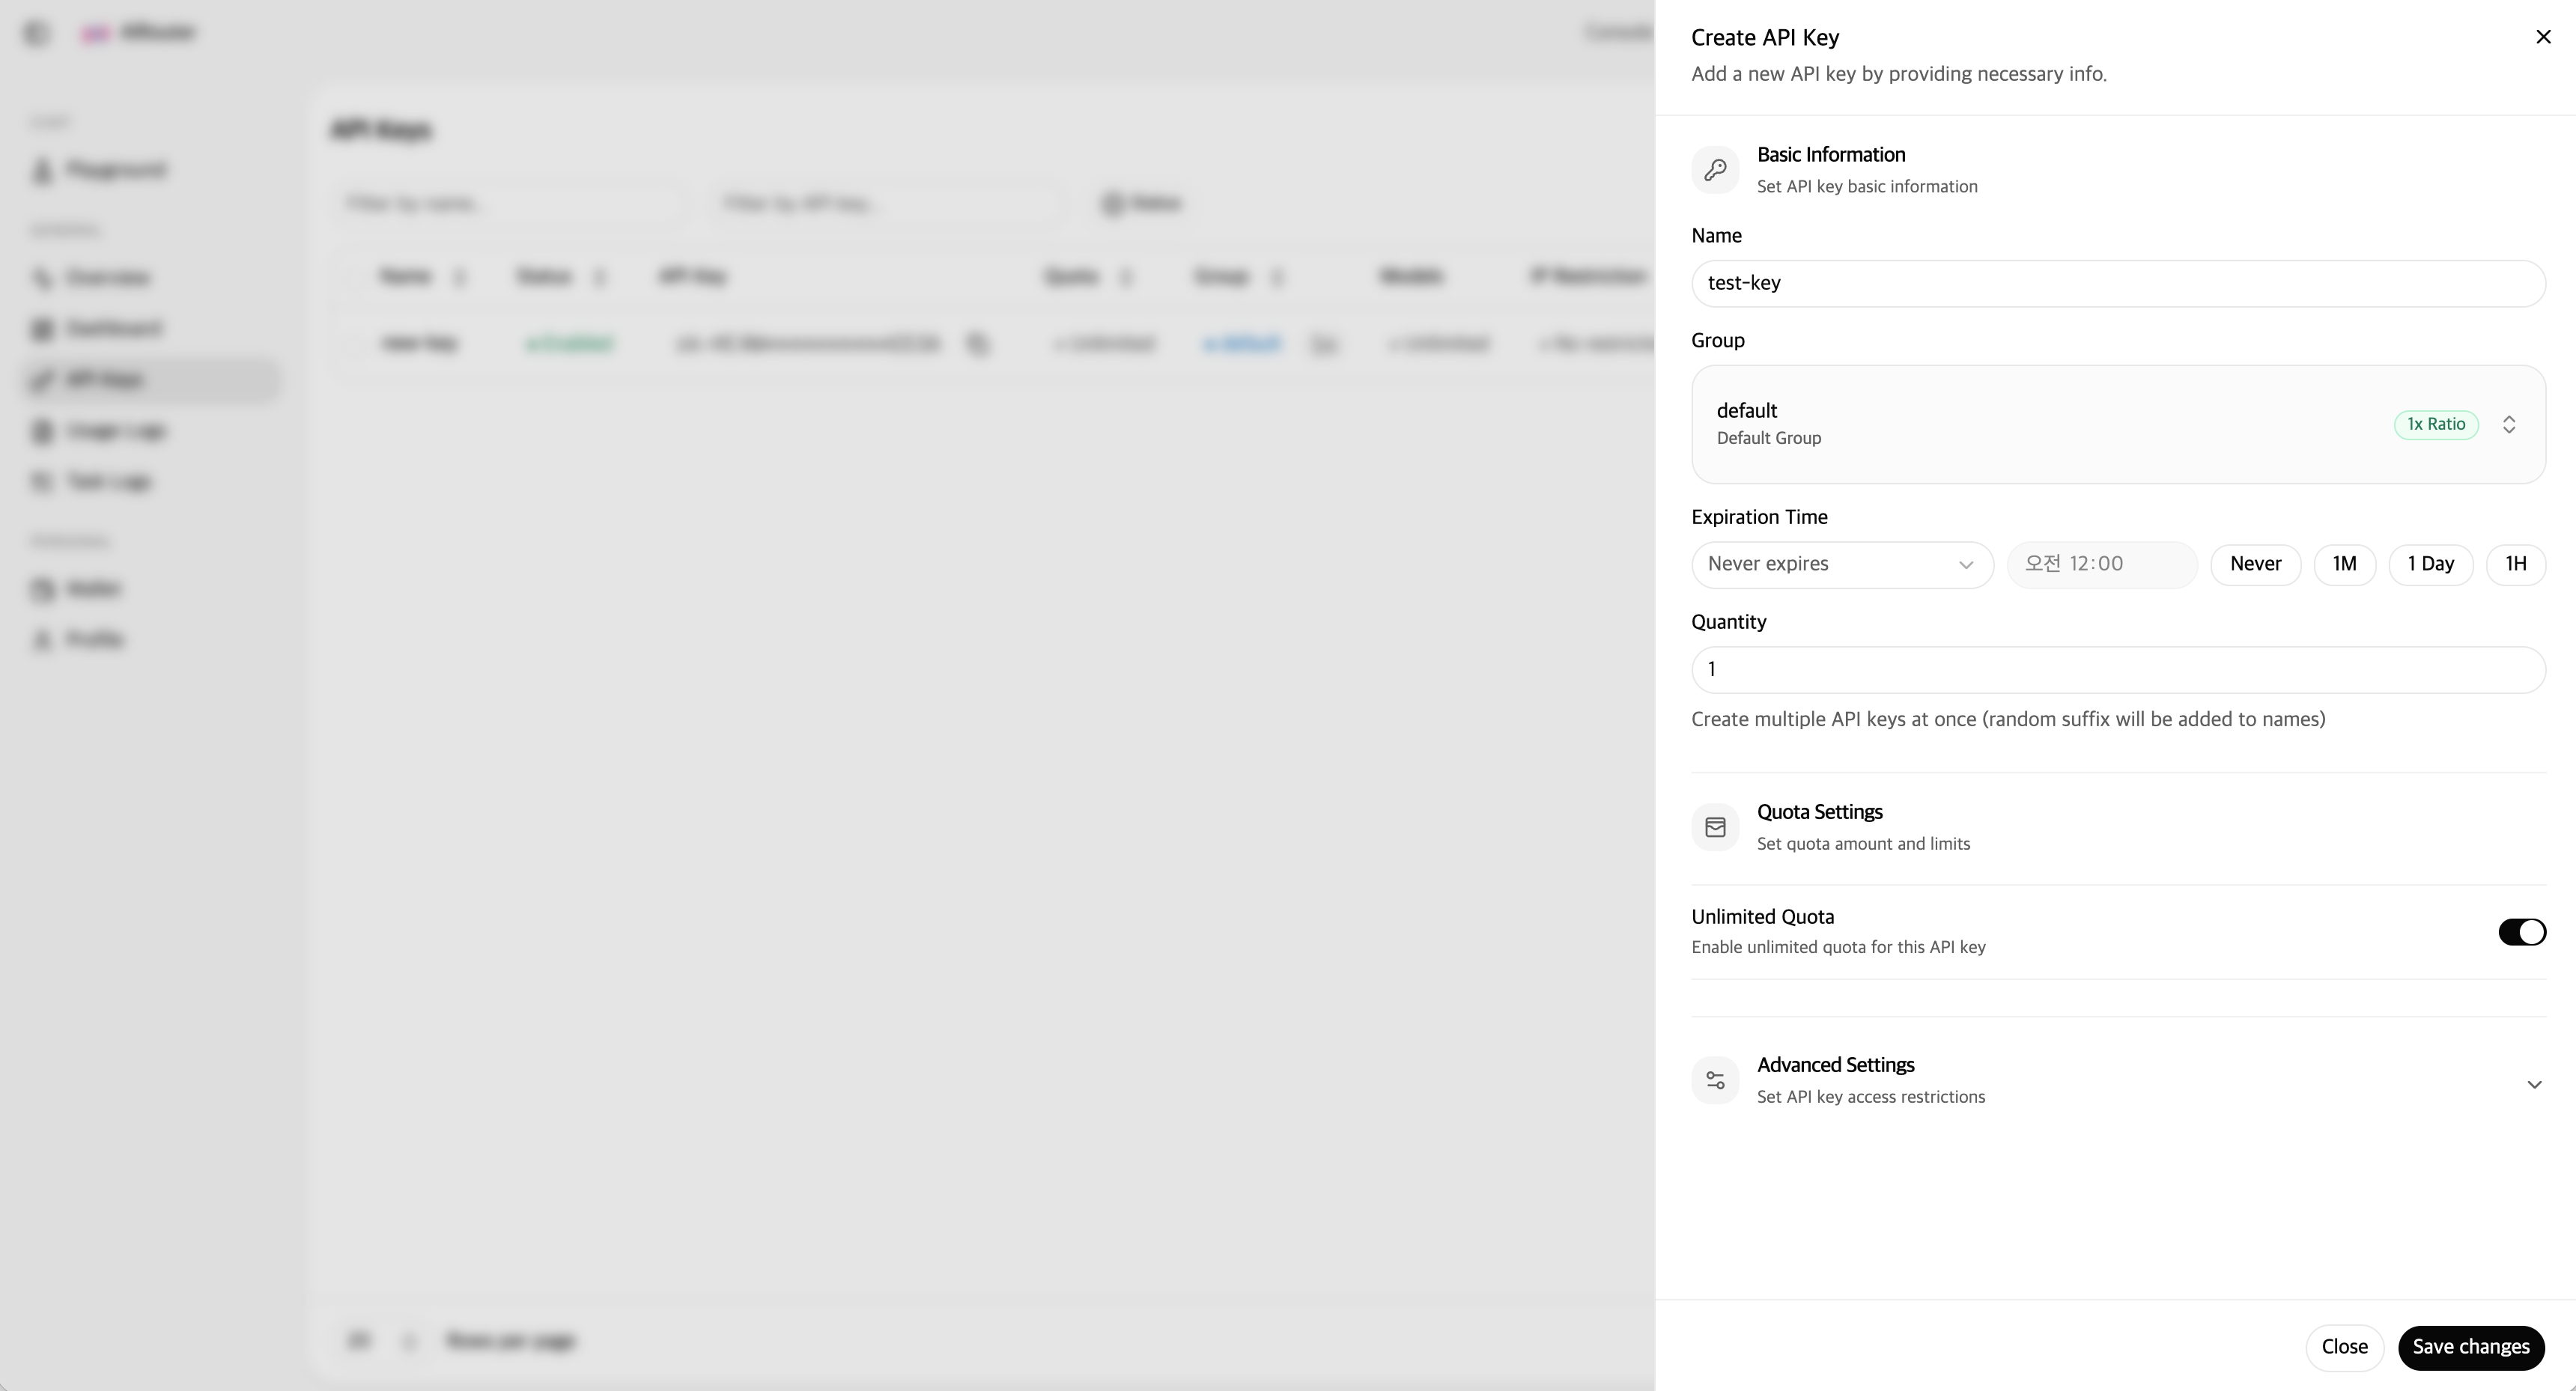
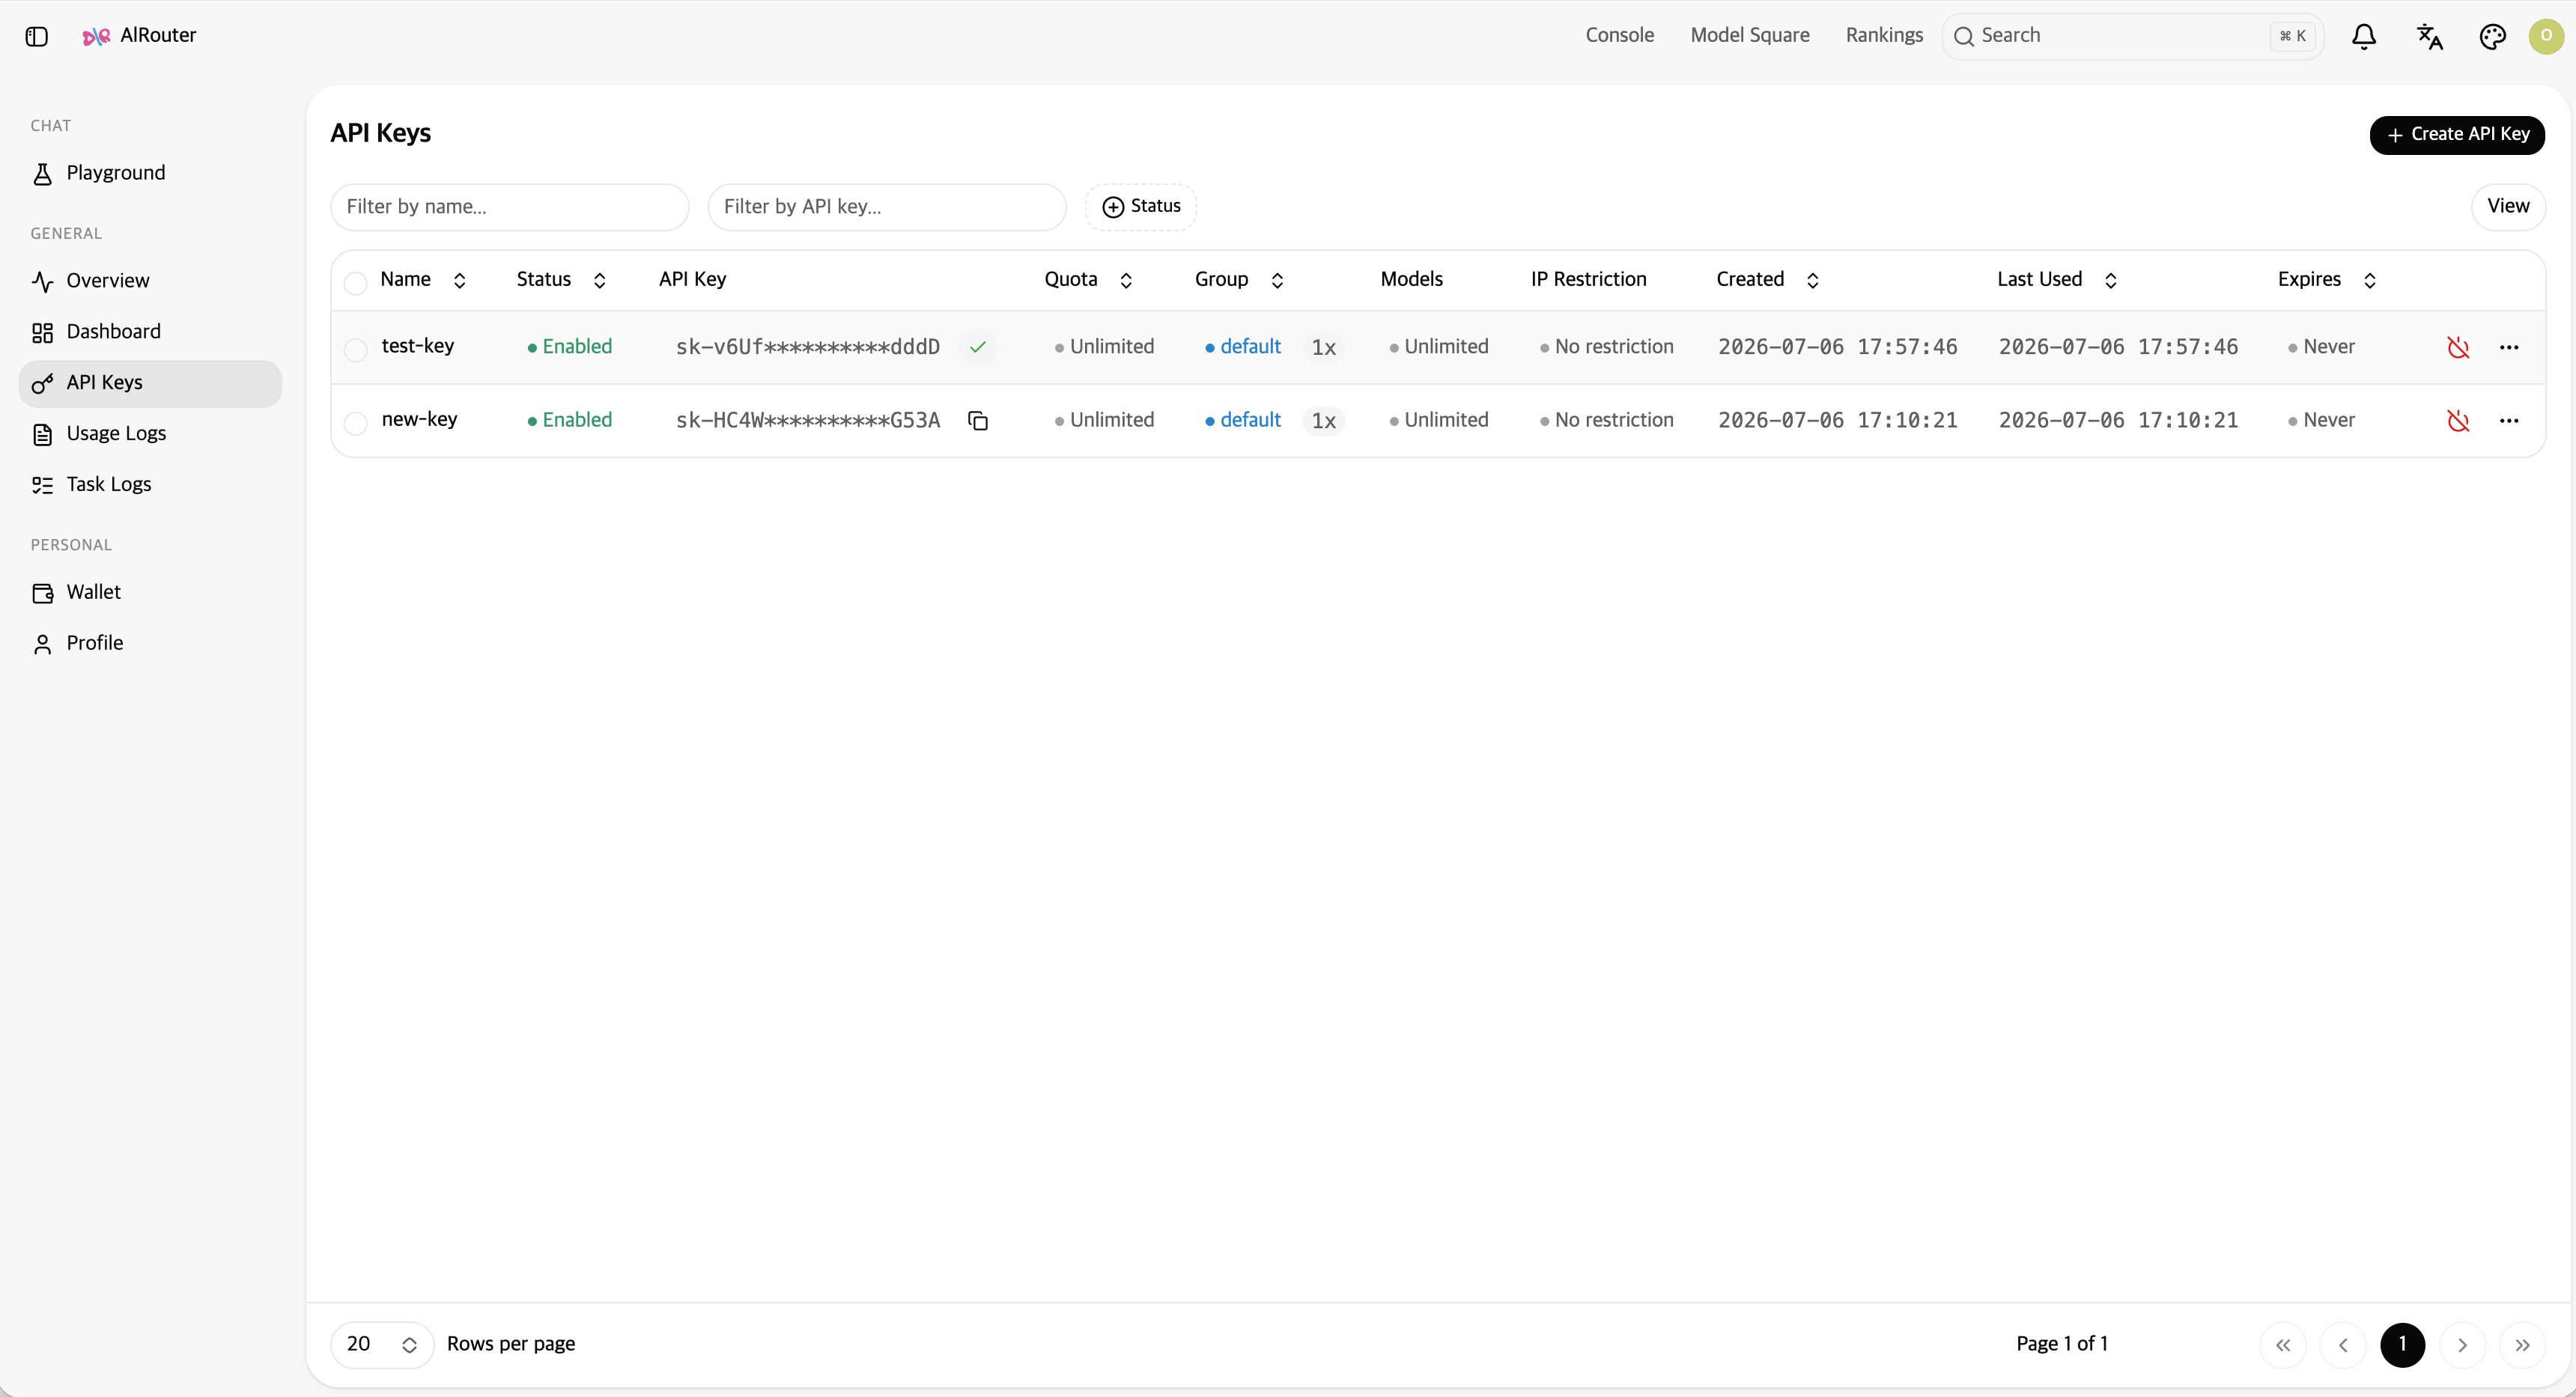
Go to the 'API Keys' menu, create a new API key, and copy it.
You'll use this single key for all the setup below.
Set environment variables
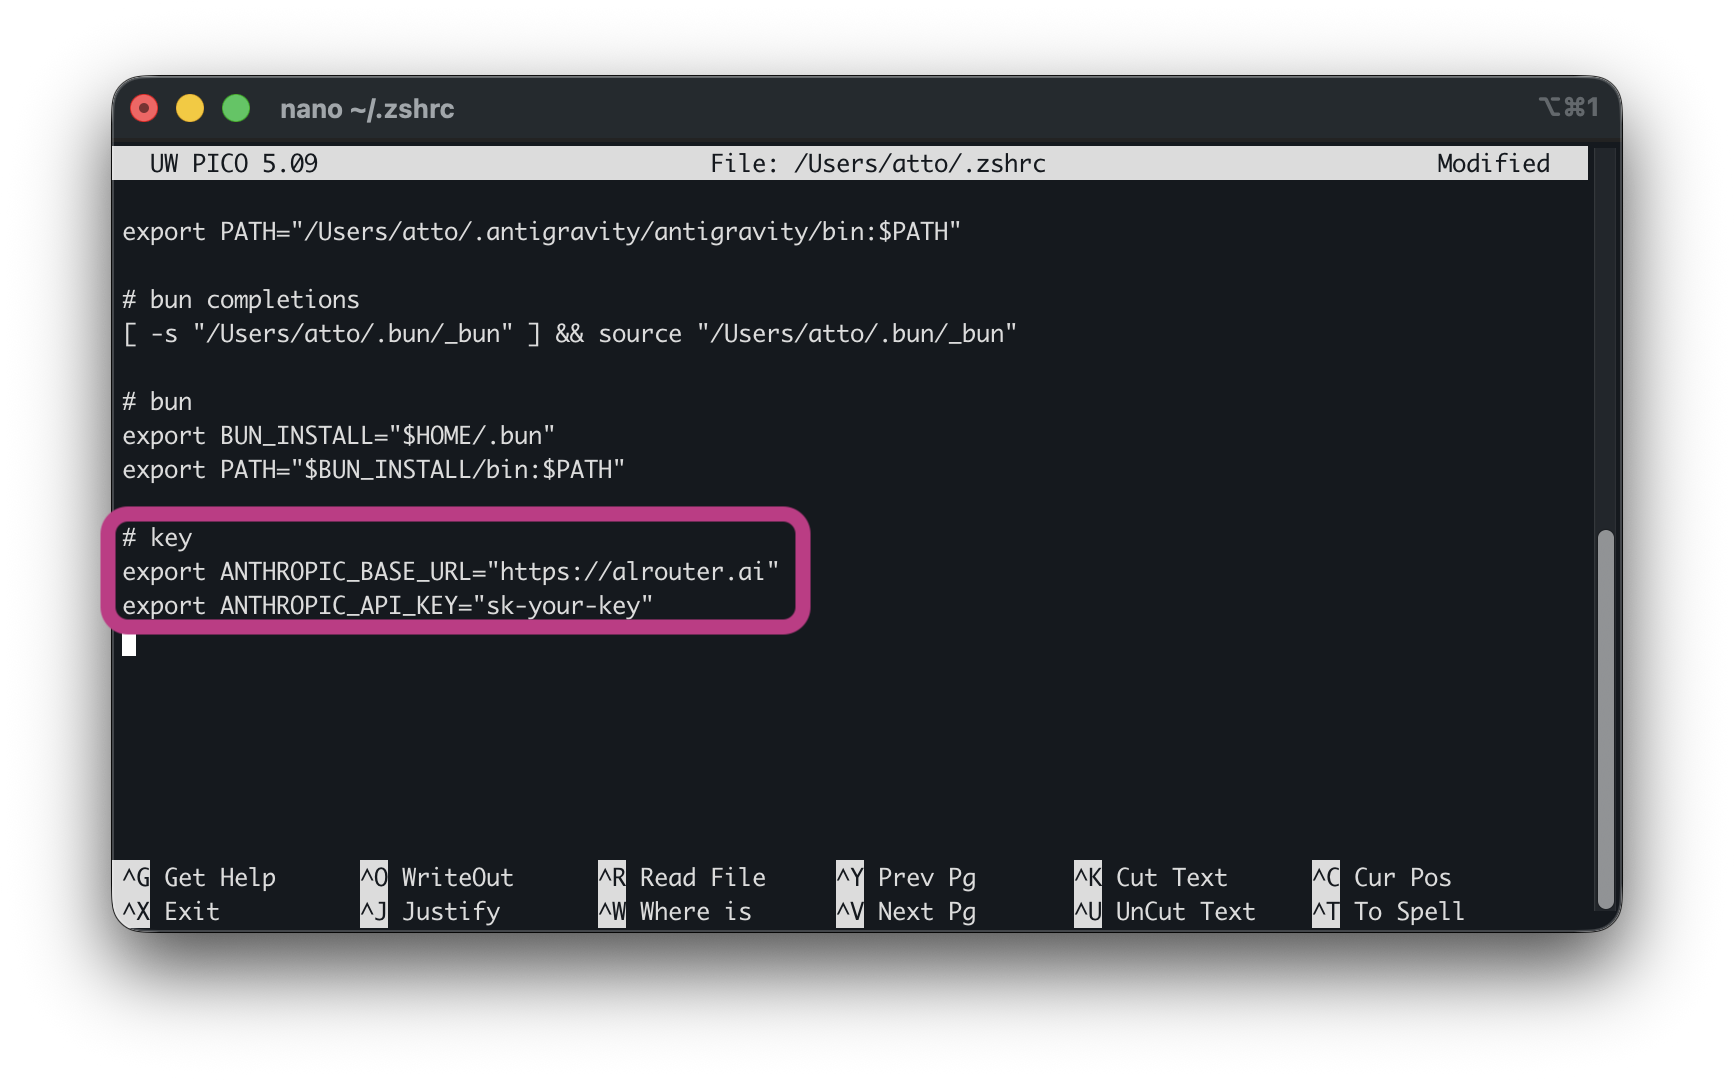
Add the environment variables for your CLI to your shell config file, then apply the changes.
A shell config file runs automatically every time you open a terminal (~/.zshrc for zsh, ~/.bash_profile or ~/.bashrc for bash).
Adding the environment variables there means every new terminal picks them up automatically, so you don't have to re-enter them each time.
Replace the example key below with your actual issued key.
export ANTHROPIC_BASE_URL="https://alrouter.ai"
export ANTHROPIC_API_KEY="sk-your-key"
export GOOGLE_GEMINI_BASE_URL="https://alrouter.ai/v1beta"
export GEMINI_API_KEY="sk-your-key"
export OPENAI_API_KEY="sk-your-key"
Codex — Codex CLI manages the Base URL in a separate config file, not an environment variable.
Keep the API key as is, and add the value below to ~/.codex/config.toml.
openai_base_url = "https://alrouter.ai/v1"
After adding the setting above, using Codex may show a "Falling back from WebSockets to HTTPS" warning.
This doesn't affect functionality, but if you'd rather not see the warning, add the following to the same file.
[features]
responses_websockets_v2 = false
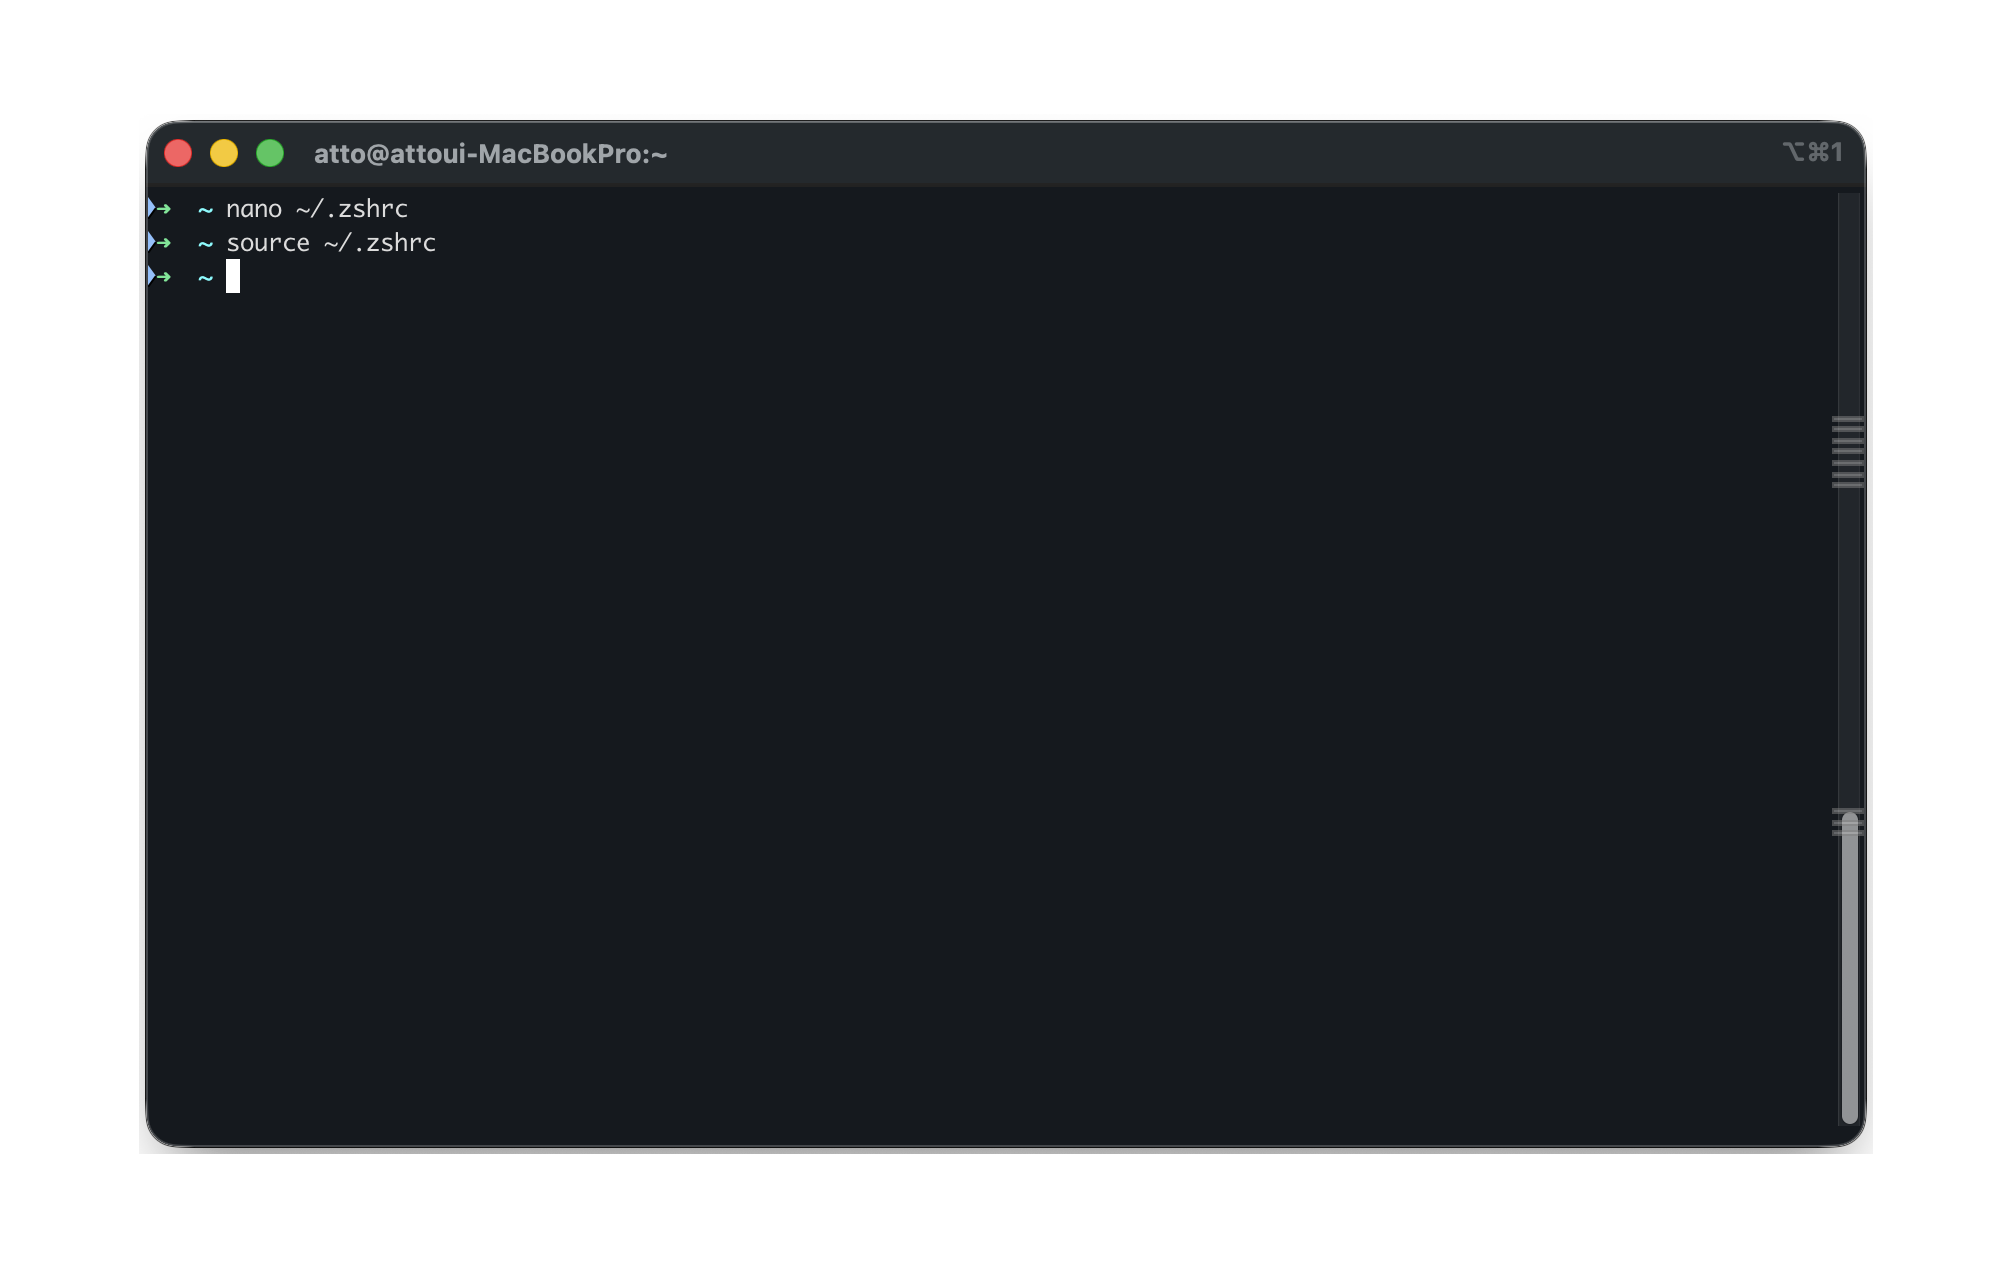
Open a new terminal, or apply the changes to your current one right away with the command below.
$ source ~/.zshrc
Verify the connection
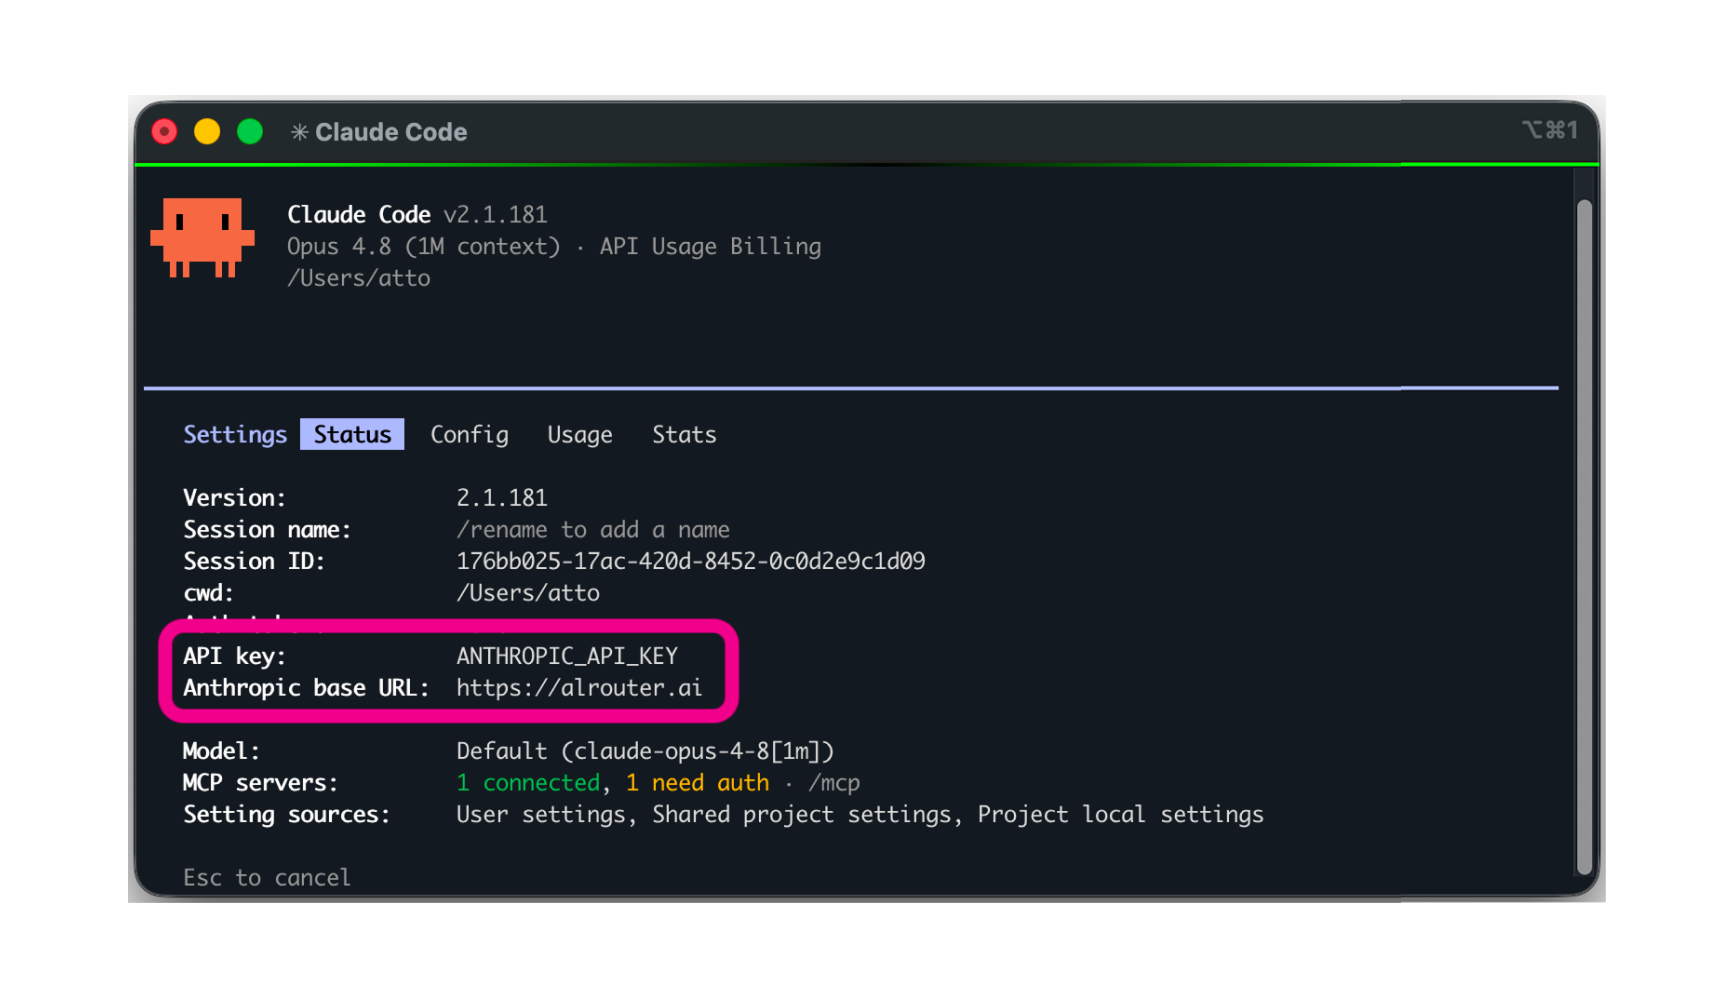
Run claude in a new terminal, then use /status to verify the AlRouter connection.
If the base URL shows alrouter.ai, you're all set.
Environment variables apply only to newly opened terminals. If a terminal was open before you set them, open a new one.
$ claude
> /status
Anthropic base URL: https://alrouter.ai
Test
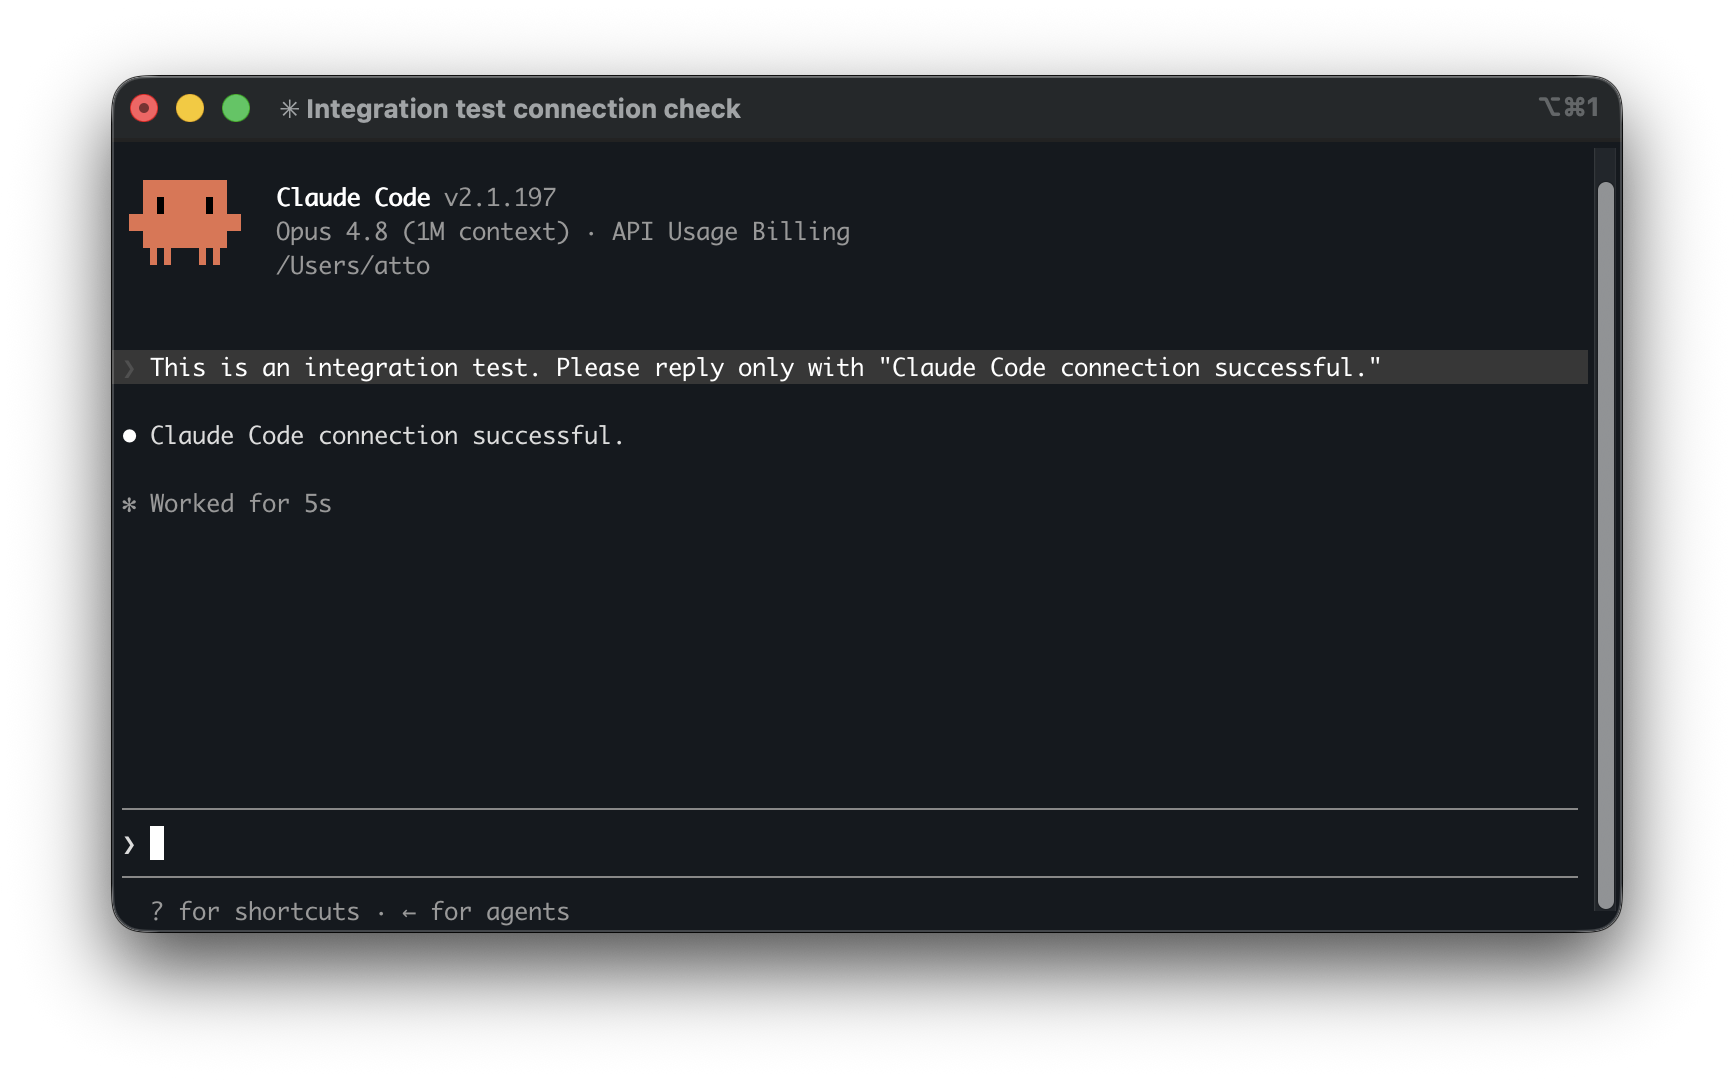
Enter a simple prompt to confirm the connection works.
$ claude
> This is an integration test. Please reply only with "Claude Code connection successful."
Claude Code connection successful.
Check usage
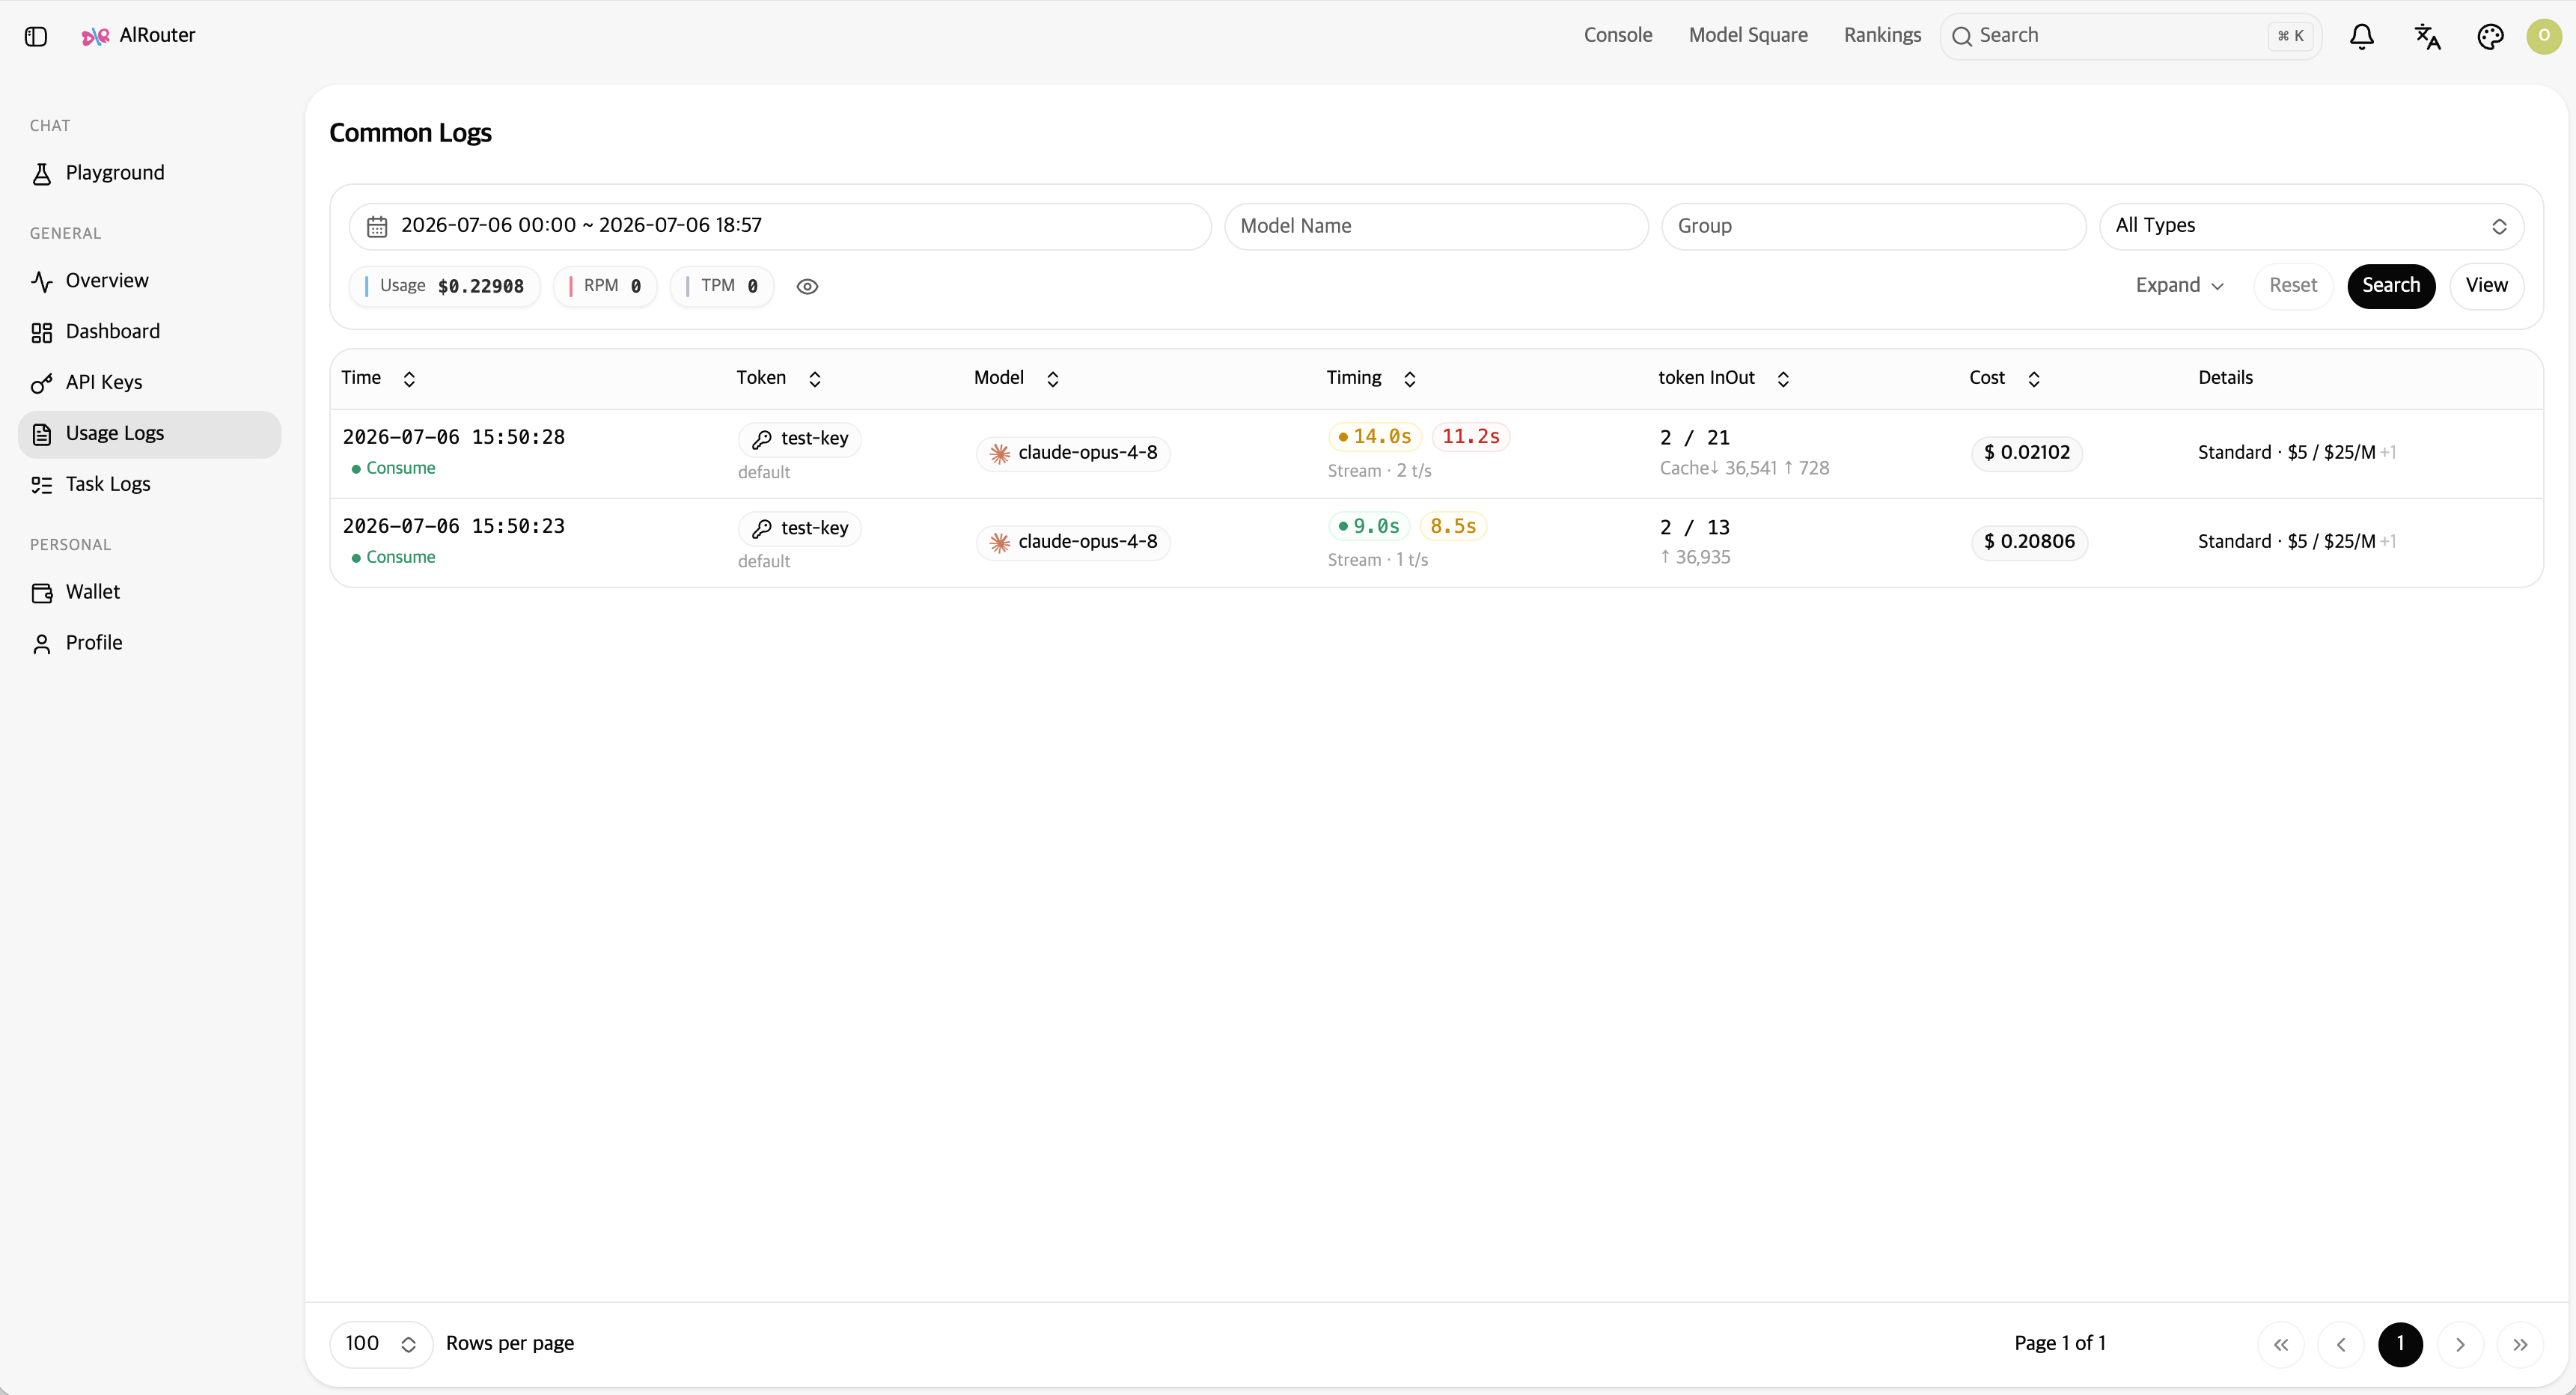
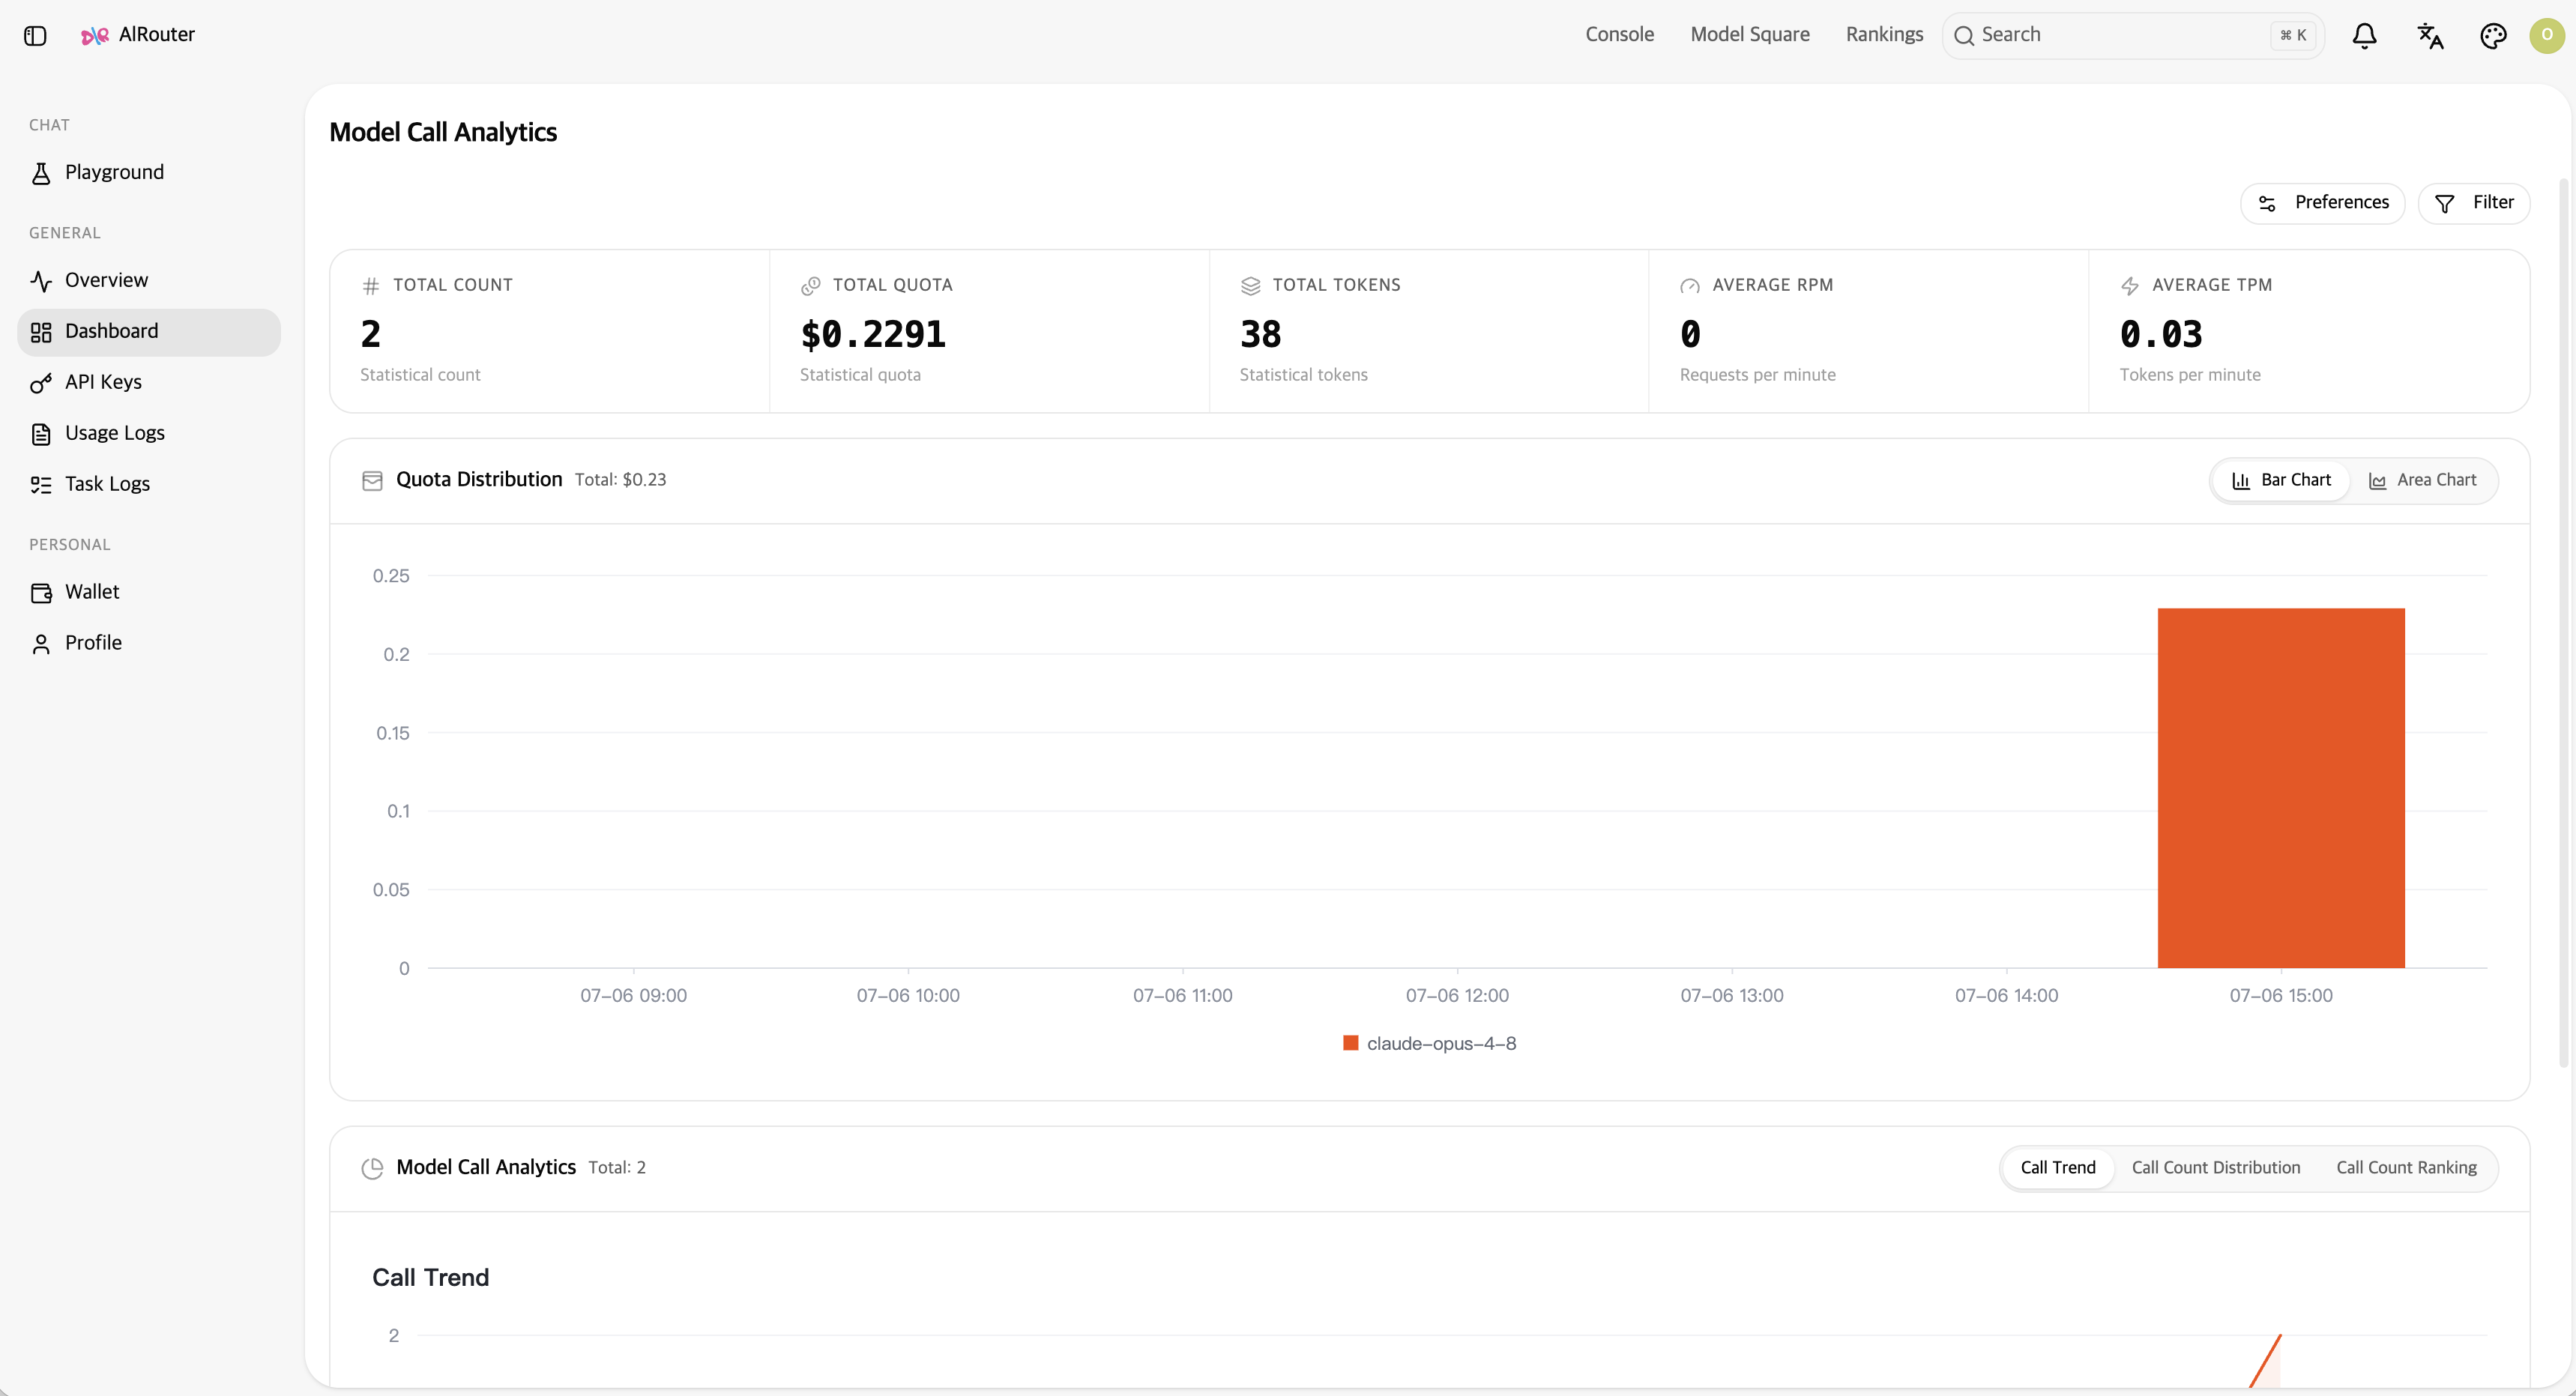
Every request is tracked per key — including tokens and cost — under the 'Usage Logs' menu.
The 'Overview' and 'Dashboard' pages also show your usage trends as charts at a glance.
Step-by-step
Install CC Switch
If it's already installed, you can skip this step.
$ brew tap farion1231/ccswitch
$ brew install --cask cc-switch
Download and run the installer for your OS.
Download from GitHub ReleasesSign in to AlRouter
Sign in to your AlRouter account before creating an API key.
Create an API key
Go to the 'API Keys' menu, create a new API key, and copy it.
You'll use this single key for all the setup below.
Register automatically with CC Switch
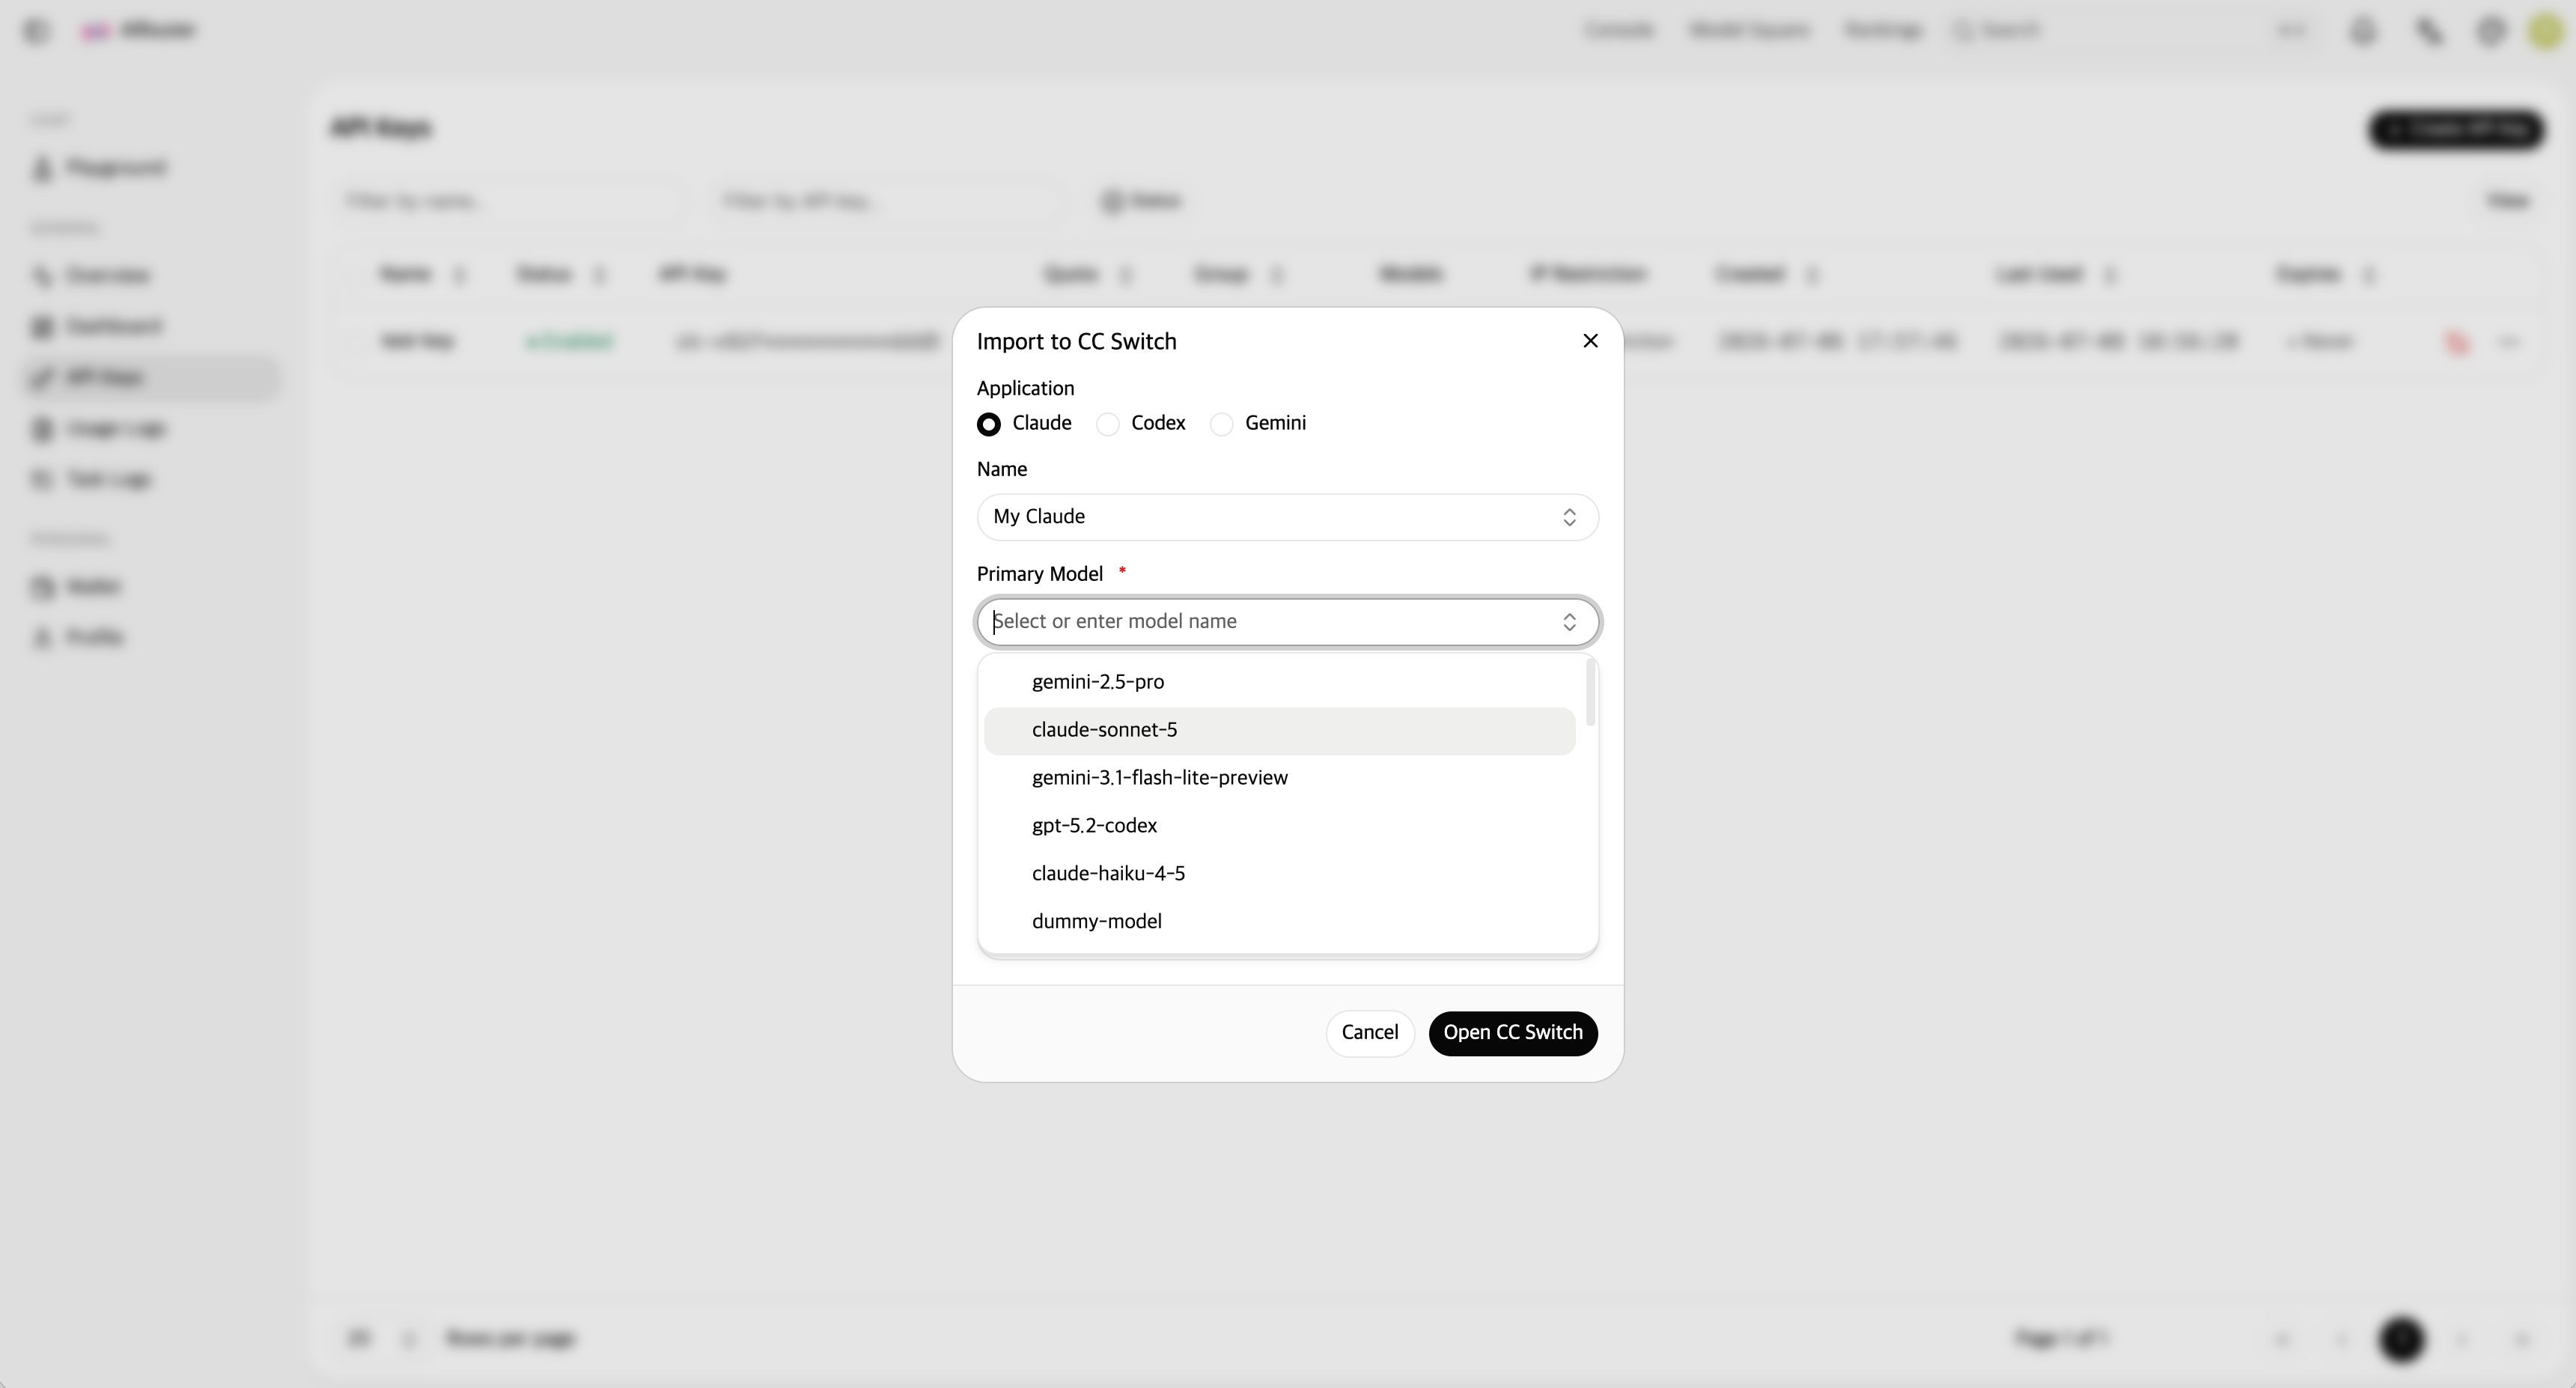
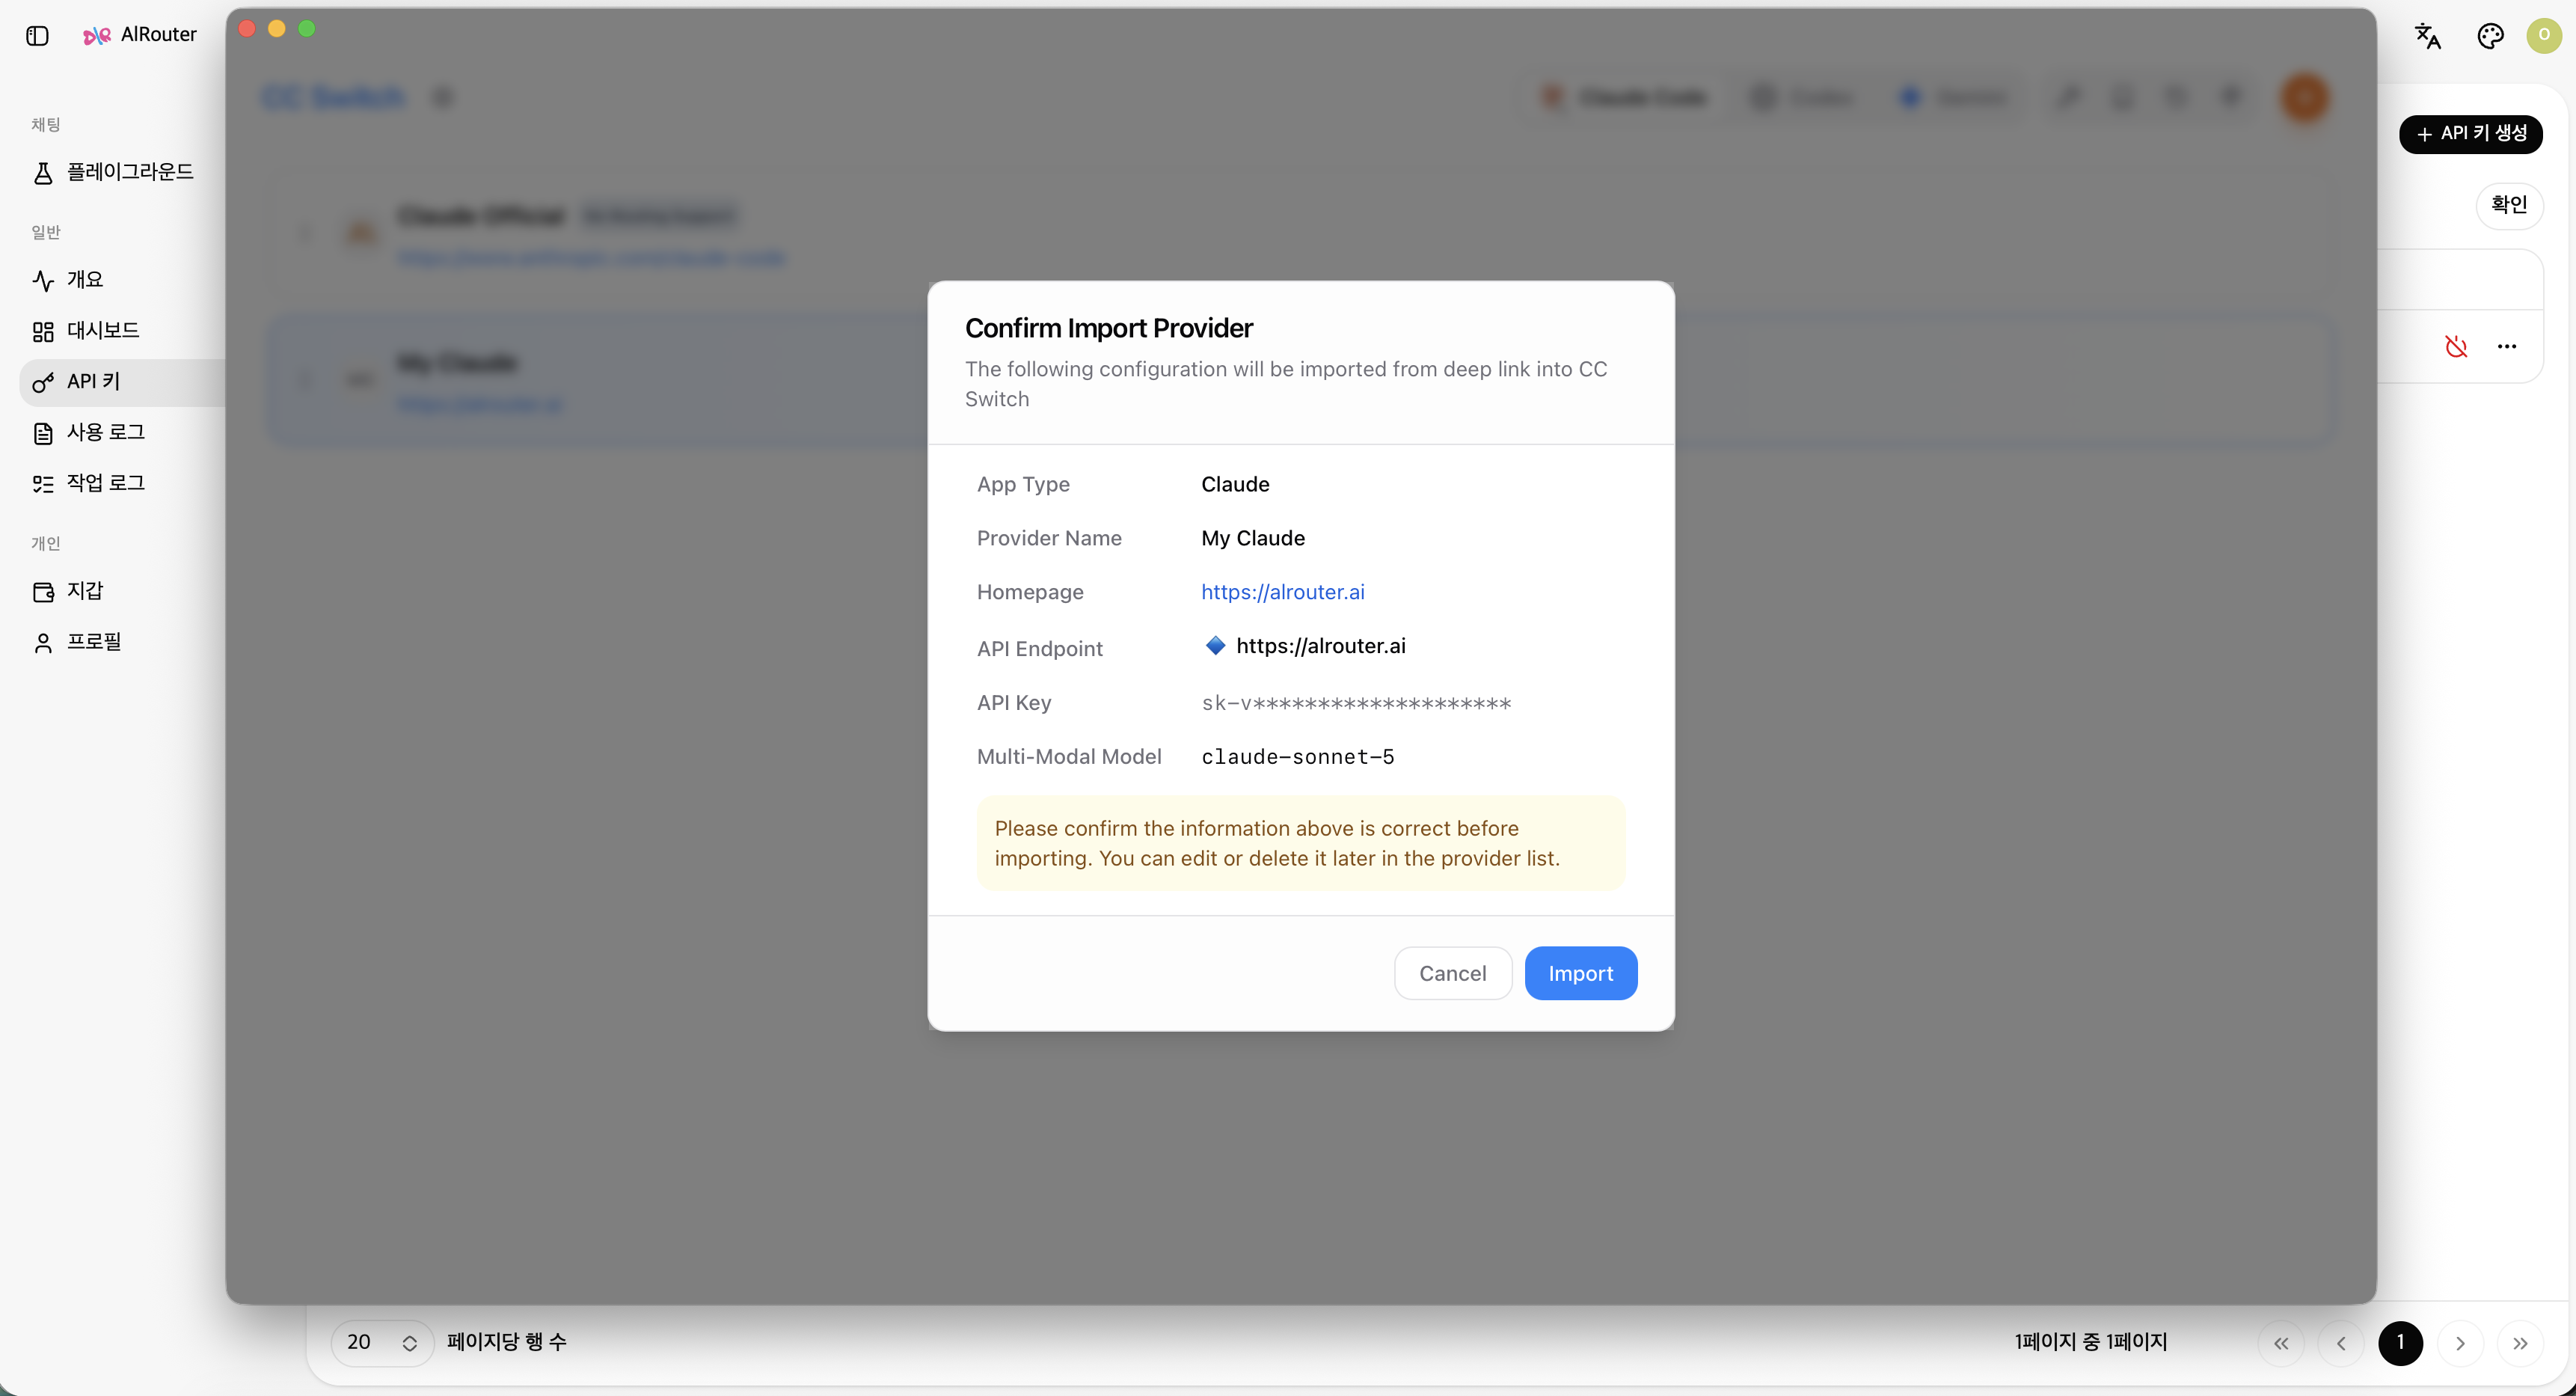
From the API key's More menu, select "CC Switch," then enter the provider and default model — CC Switch opens.
Review the details and click "Import" to complete the registration.
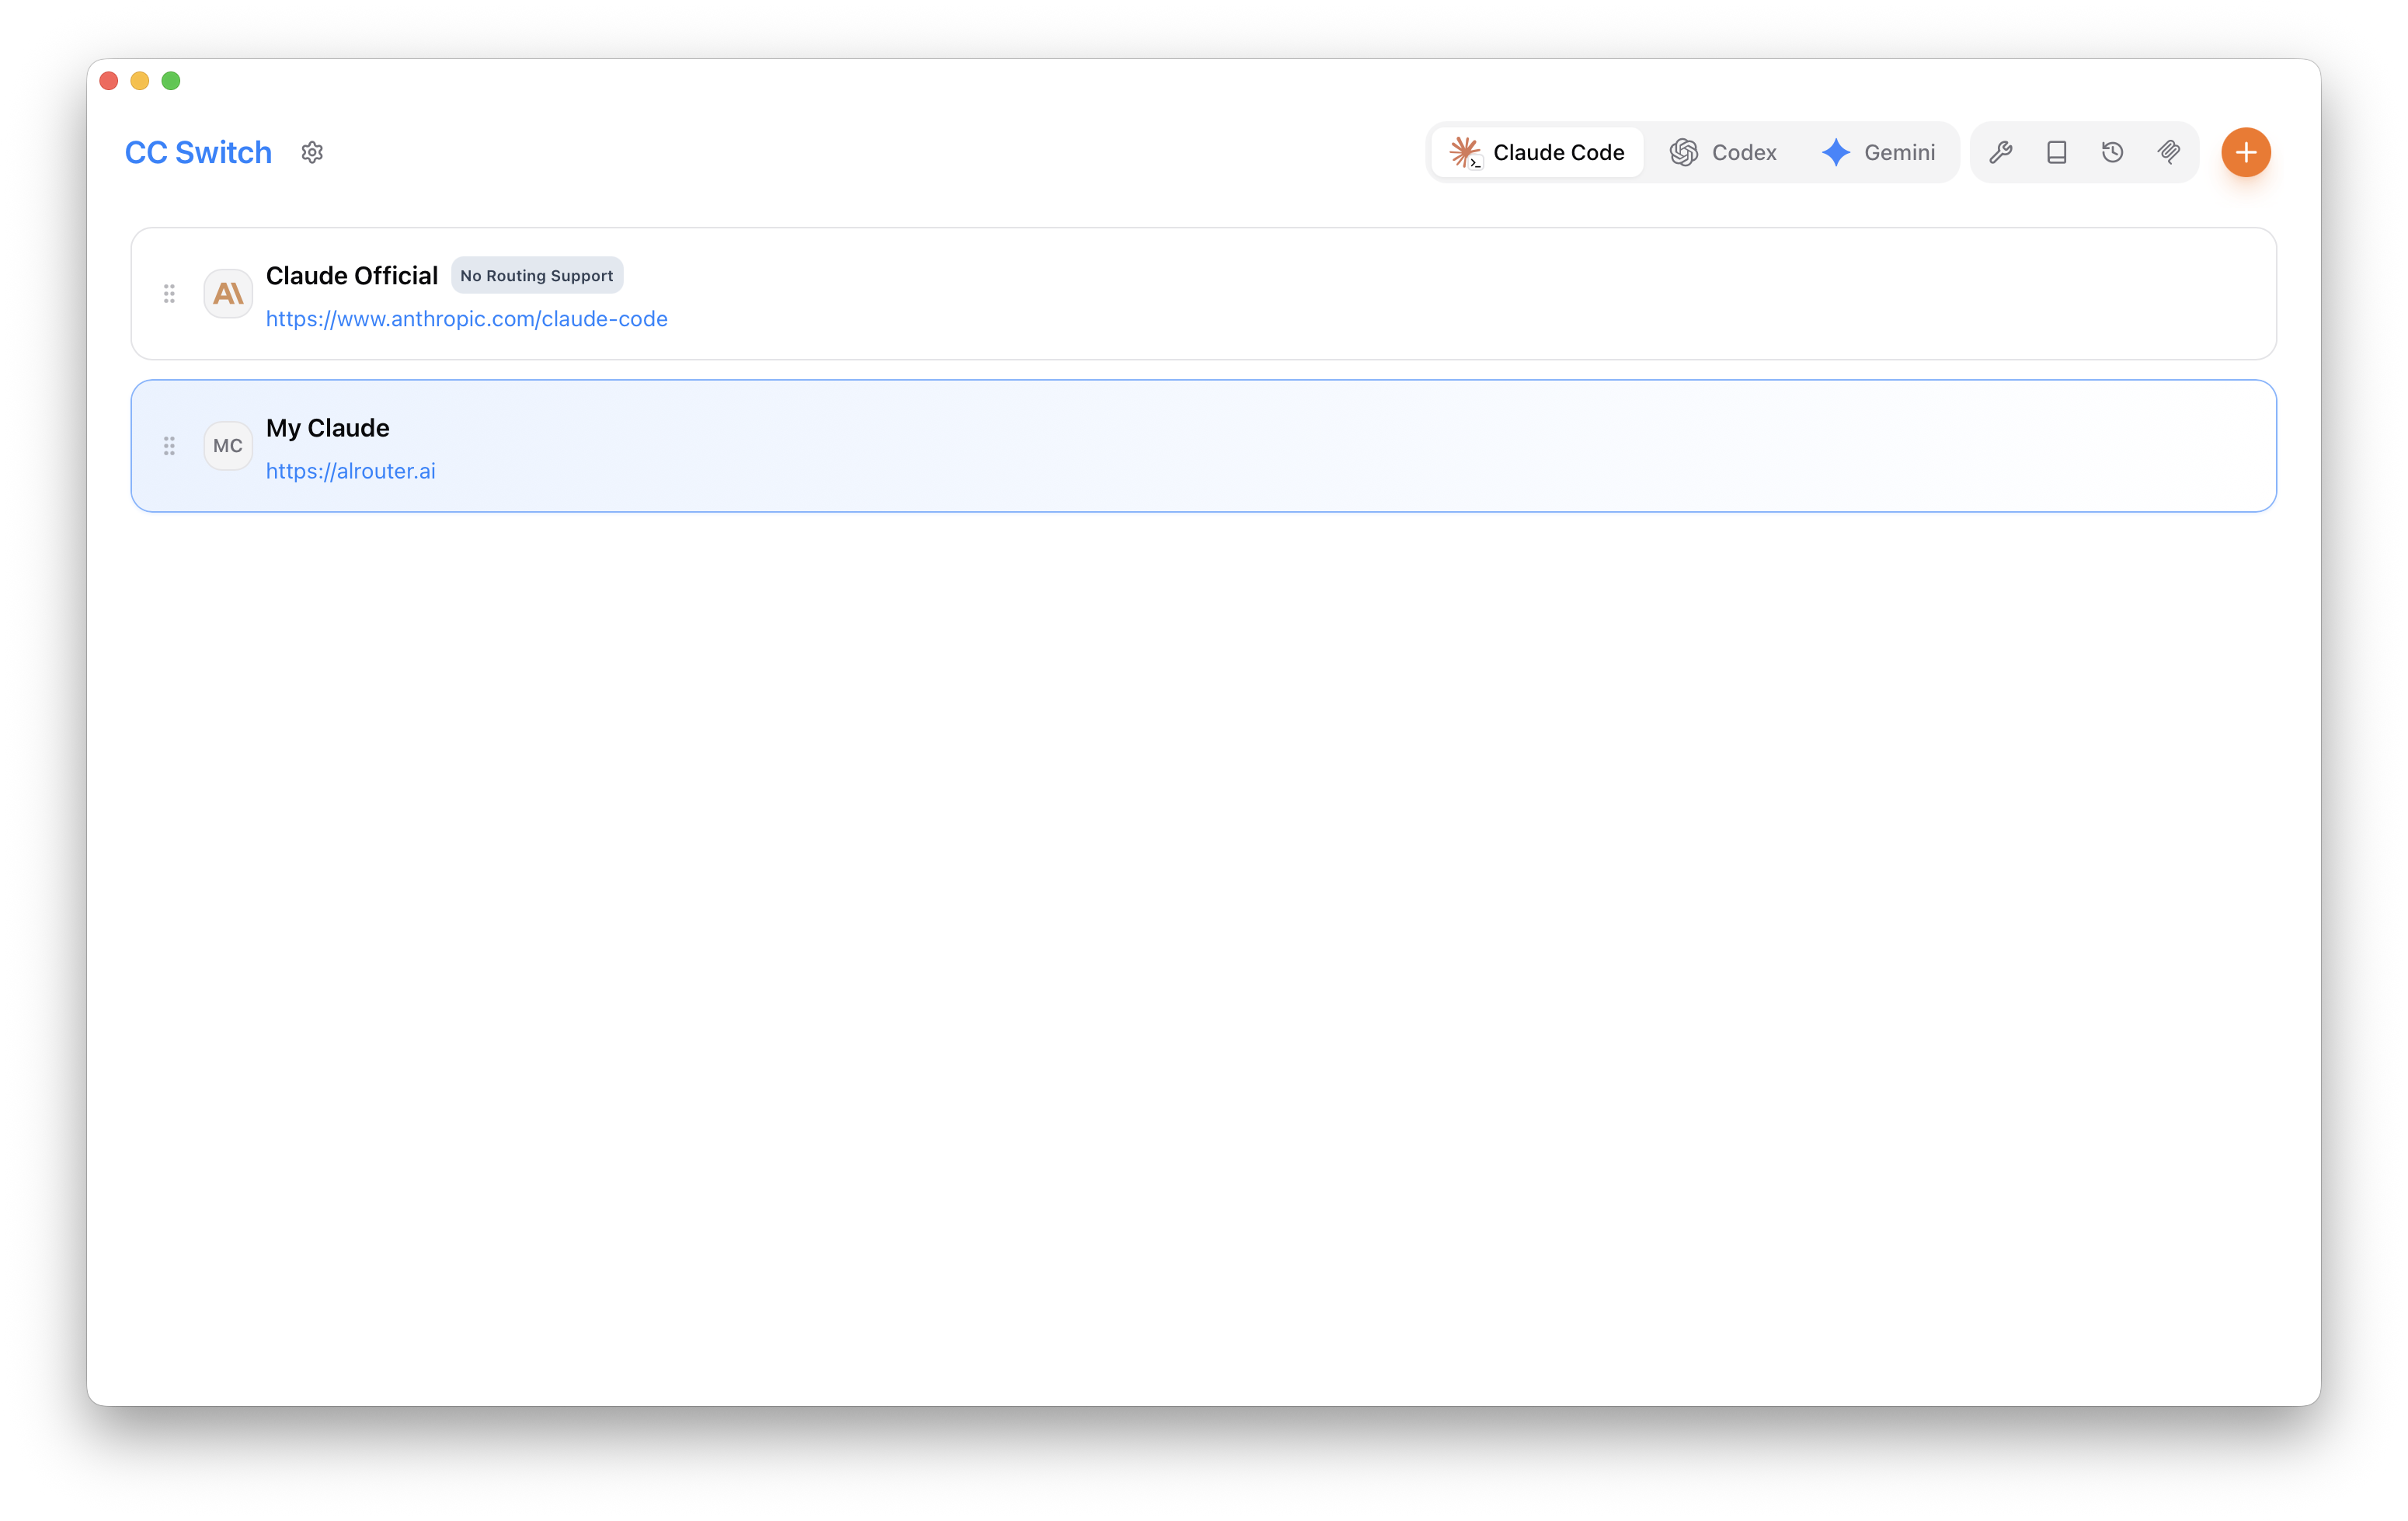
Switching your selection in the CC Switch list lets you easily switch back to the official provider anytime.
Verify the connection
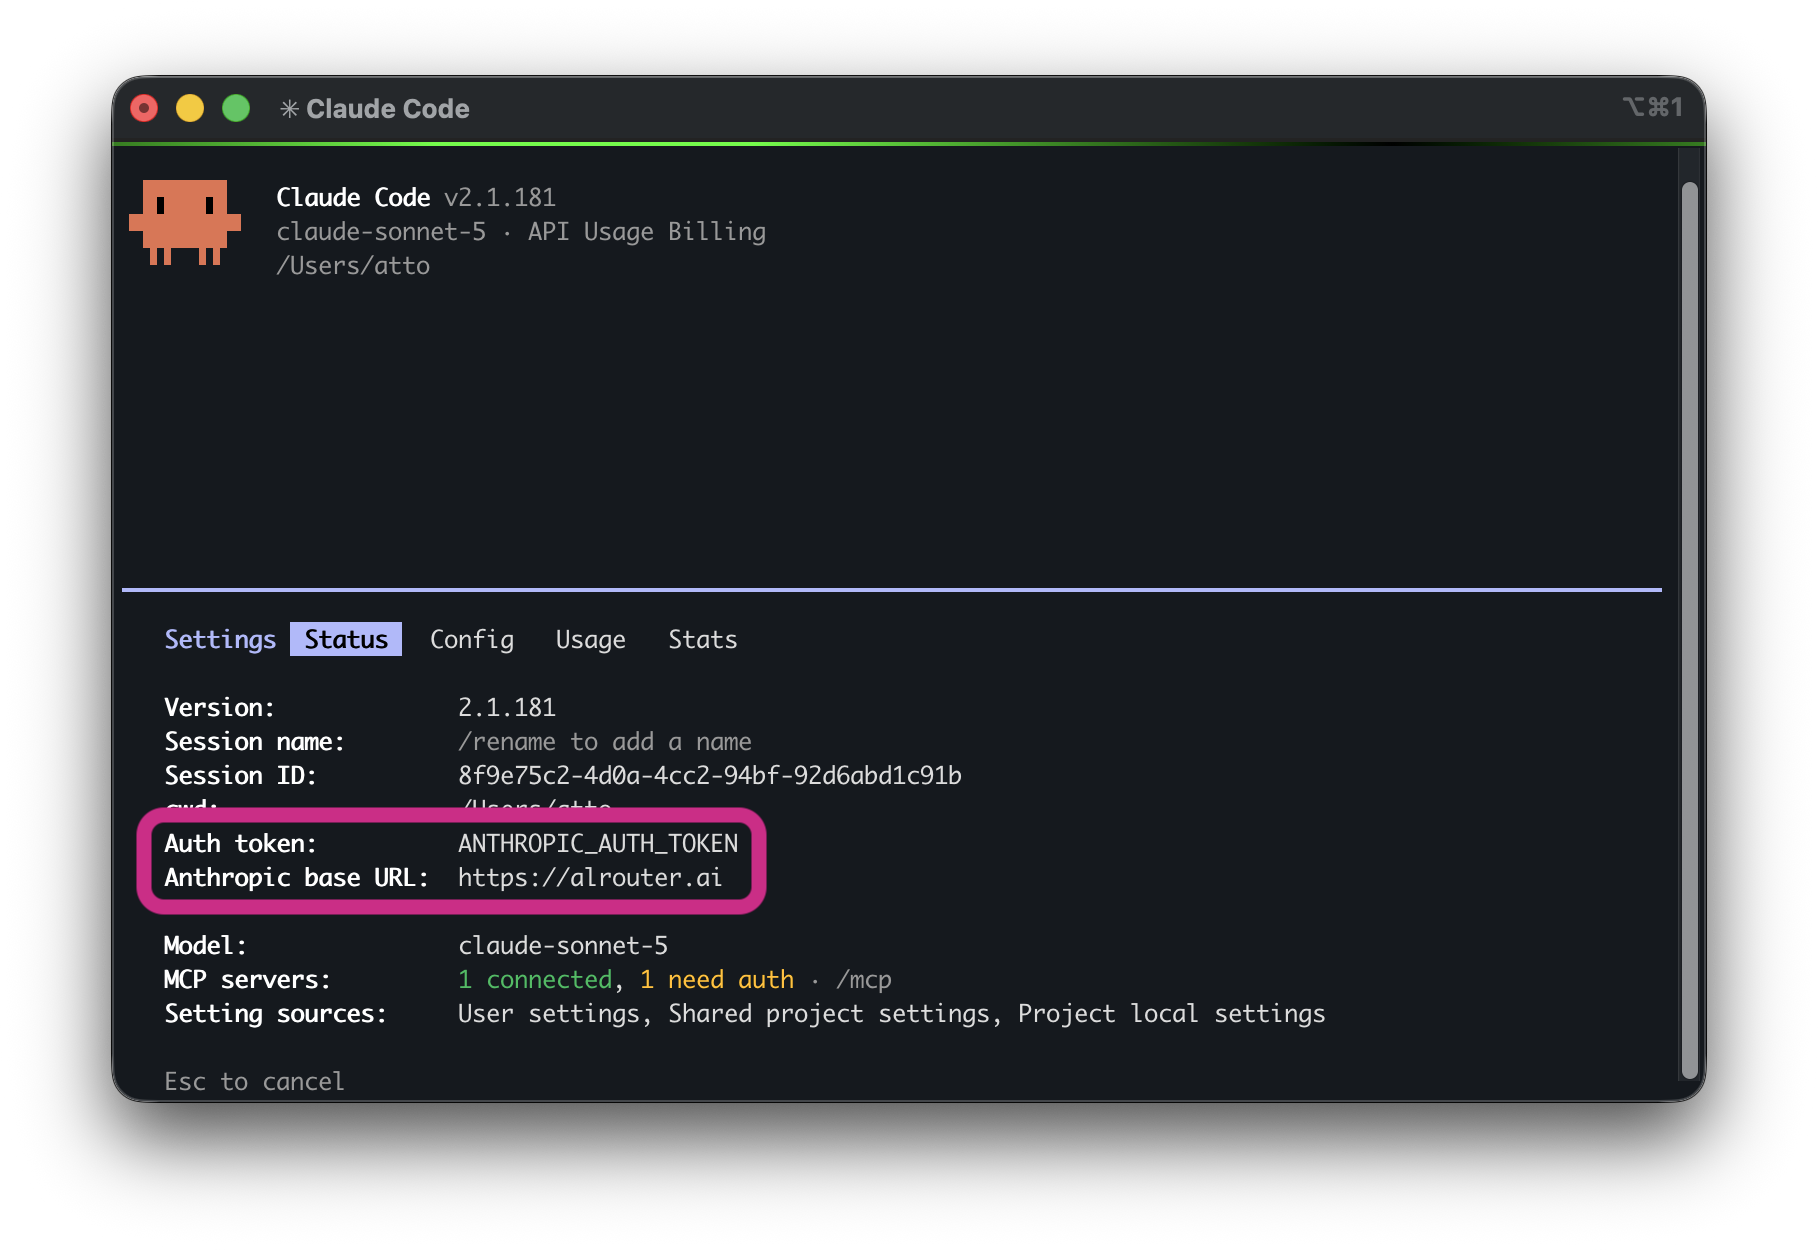
Restart Claude Code, then check the AlRouter connection with /status.
If the Anthropic base URL shows alrouter.ai, it's working correctly.
Settings take effect after restarting. If a session was open before registering, quit it completely and start a new one.
$ claude
> /status
Anthropic base URL: https://alrouter.ai
Test
Enter a simple prompt to confirm the connection works.
$ claude
> This is an integration test. Please reply only with "Claude Code connection successful."
Claude Code connection successful.
Check usage
Every request is tracked per key — including tokens and cost — under the 'Usage Logs' menu.
The 'Overview' and 'Dashboard' pages also show your usage trends as charts at a glance.